Teasers
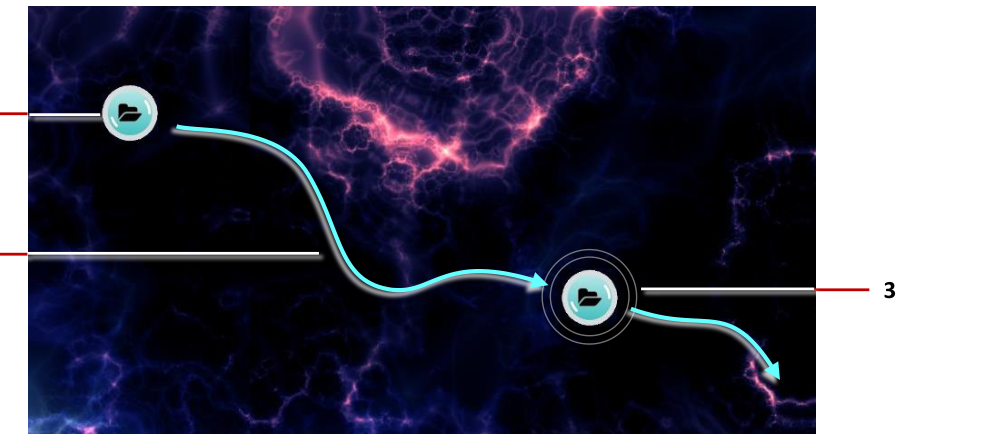
A teaser is a menu launcher. It is a bubble that either drifts slowly across the screen, wobbling briefly at regular intervals to catch visitors' attention, or fades in and out at random places on the screen. When a visitor taps it, a finger menu or rotating menu opens.
For more impact, you can show several copies of a teaser at once, and replace the bubble with your own image or video, such as your logo.
How a teaser is built
A Teaser menu widget in the Main layer has three slots, each holding a shared widget:
| Slot | What goes here |
|---|---|
| Menu | The menu the teaser opens: a Finger menu or Rotating menu, with its own content set. |
| Teaser behavior | How the teaser moves: Floating content behavior or Fading content behavior. Without one, the teaser floats slowly across the screen with default settings. |
| Teaser visualization widget | Optional. An image, image movie or video shown instead of the bubble. |
The teaser bubble itself is the menu's central bubble, so it follows the menu's content set and the theme's menu item style.
Step 1: Prepare a content set
The teaser's menu needs a content set, like any finger or rotating menu. You can reuse an existing one, or create one for the teaser so it can have its own name and thumbnail. See Finger Menus.
To show a thumbnail on the teaser bubble, open the content set, click Content set settings, and drag an image from the Media Library panel into Preview image. You can drop it while the field is on Generate automatically: the field switches to the dropped image.
Build a teaser from a folder in one step
Drag a media library folder onto the Main layer row in the structure tree. The Editor asks what to build; choose Teaser Menu for a teaser that opens a finger menu over the folder's content.
Step 2: Add the teaser
- Click Structures and select the app's structure.
- On the Main layer row, open the … menu and choose Add Widget, then select Teaser menu.
Step 3: Choose the menu
- With the teaser selected, open the drop-down list on its Menu slot and choose + Create new....
- Enter a name, for example My Teaser Menu, and confirm. When asked which type to create, choose Finger menu or Rotating menu.
- The Editor opens the new menu in the Widget Library. Set its Content slot to your content set, and click Save.
The Editor returns to the structure, and the teaser now uses the menu. To reuse a menu you created earlier, pick it from the Menu drop-down list instead.
Step 4: Choose the behavior
- On the teaser's Teaser behavior slot, choose + Create new....
- Enter a name, for example My Teaser Behavior, confirm, and choose Floating content behavior or Fading content behavior.
- Adjust its attributes in the dialog that opens (see Customize the behavior), and click Save.
Step 5 (optional): Replace the bubble with an image or video
- On the teaser's Teaser visualization widget slot, choose + Create new..., enter a name such as My Teaser Image, and choose the widget type: for example Image viewer, Image movie or Video viewer.
- In the dialog that opens, set the content:
- Image viewer: Image file.
- Image movie: Image sequence folder.
- Video viewer: Video source. Also turn on Start video automatically, Loop video and Mute video.
- Click Save.
To do the same in one step, drag the image or video from the Media Library panel onto the Teaser visualization widget list. The Editor makes an Image viewer or Video viewer showing that file and chooses it. To change it later, click Edit next to the list. See Choose a shared widget.
When a visitor taps the image or video, the menu opens as usual.
On the wall, the teaser appears as soon as the change is saved. Tap it to open its menu.
Customize the teaser
Select the teaser in the structure to change its own attributes:
- Number of teaser instances: how many copies of the teaser are on screen at once. For example, set it to 4 for four teasers.
- Location of spawning area and Size of spawning area: the area of the screen the teasers appear in.
- Display open teaser at launch: whether the menu is already open when the teaser appears. Off by default.
You can add several different teasers to an app, each opening a different menu with its own look and behavior.
Customize the behavior
To change a behavior, open it from the Widget Library, or select the teaser and click the behavior's row under it in the structure tree.
Floating content behavior controls how the teaser drifts:
- Direction of content movement: the ratio of horizontal to vertical movement. For example,
4 1drifts gently right and down: four units right for every unit down. Negative numbers move left or up. - Content speed: how fast the teaser moves.
- Horizontal distance of content waves and Vertical distance of content waves: the length and height of the waves the teaser makes as it drifts.
- Edge behavior: at the edge of the screen, Reappear on the opposite side or Bounce and flip direction.
- Frequency of content animations, Duration of single content animation, Animation size and Content animation count: the attention-catching wobble.
Fading content behavior controls how the teaser appears and disappears:
- Time between animations: how often the teaser disappears and reappears somewhere else.
- Disappearing animation duration and Reappearing animation duration.
- Enable fade animation and Enable scale animation: whether the teaser fades and grows or shrinks as it appears and disappears. Both are on by default.
- Only use corners: reappear only in corners of the screen, rather than anywhere.
Note
The same two behaviors also work on animated content: images or videos that drift across the screen, or fade in and out, like a teaser. See Backgrounds and Animation.