Workspaces
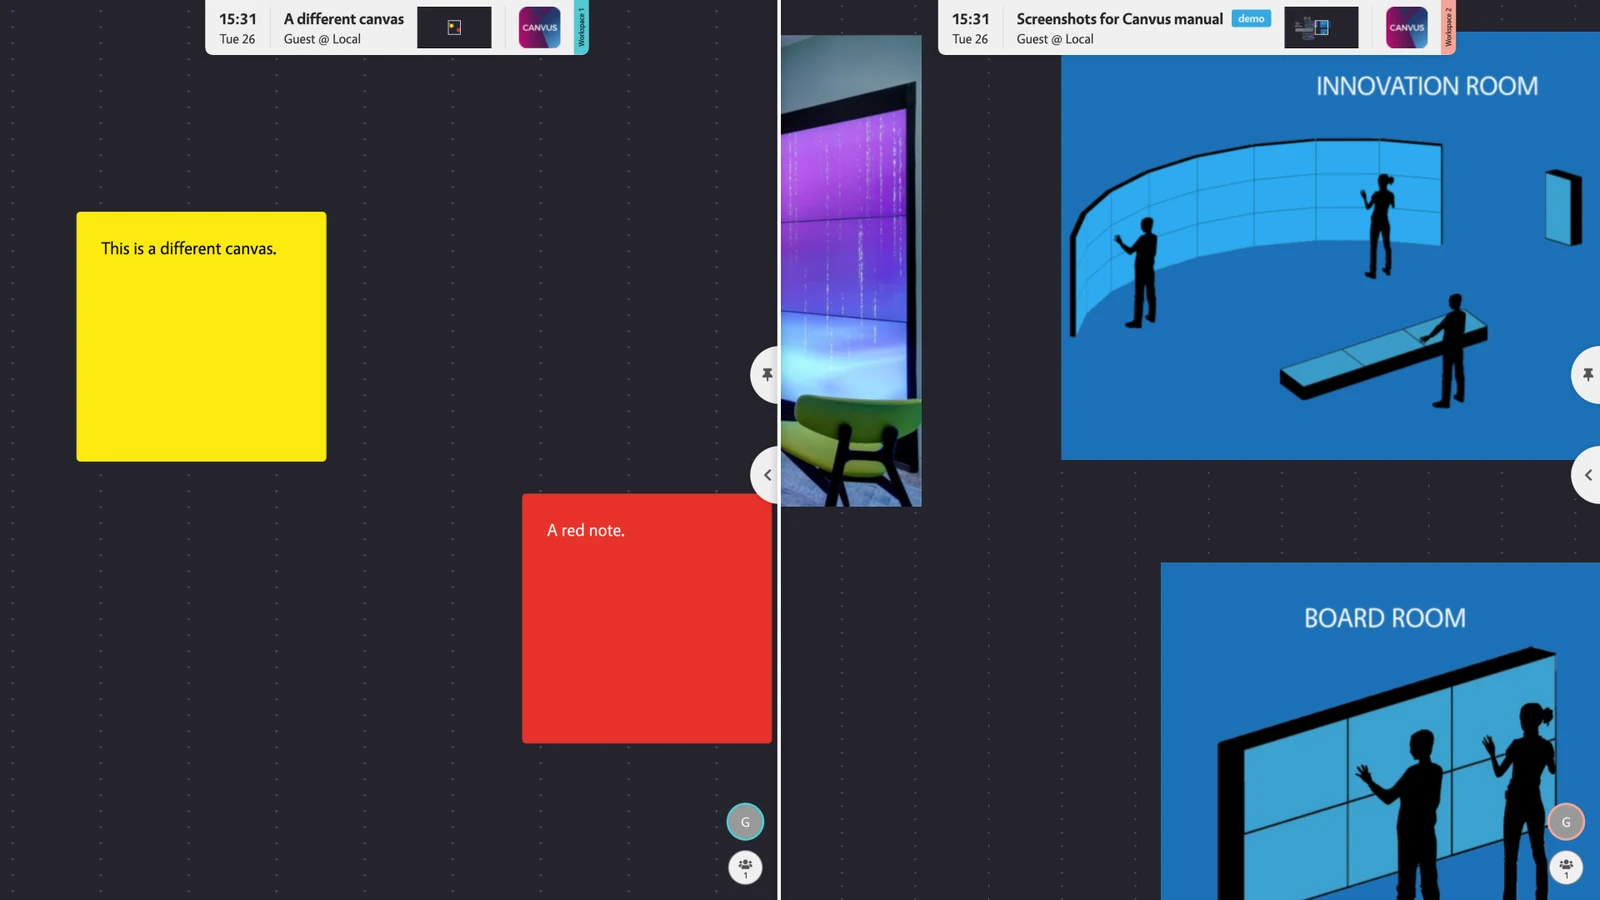
In Canvus client, a workspace presents the user with a viewport onto a canvas. By default, there is a single workspace that extends across the entire screen, but it is possible to split the screen into multiple workspaces.
Multiple workspaces are mainly meant for video walls or other large format displays. They allow you to split the screen into separate sections so that two or more users can work independently on the screen without interfering with each other's work. Users can choose to view different canvas in each workspace.
Fixed workspaces
Fixed workspaces are a special type of workspace. These workspaces cannot be resized or removed by users and are defined in the mt-canvus.ini configuration file.
Why use fixed workspaces? Typically, you would define a fixed workspace on a standalone screen to remotely manage the main video wall in real time. For example, a presenter defines a fixed workspace on a single display that is physically separate from the main video wall. If the single display and video wall are both displaying the same canvas, the presenter can remotely demonstrate content on the video wall.
Info
config-client-fixed-workspaces in client configuration.
Welcome screen
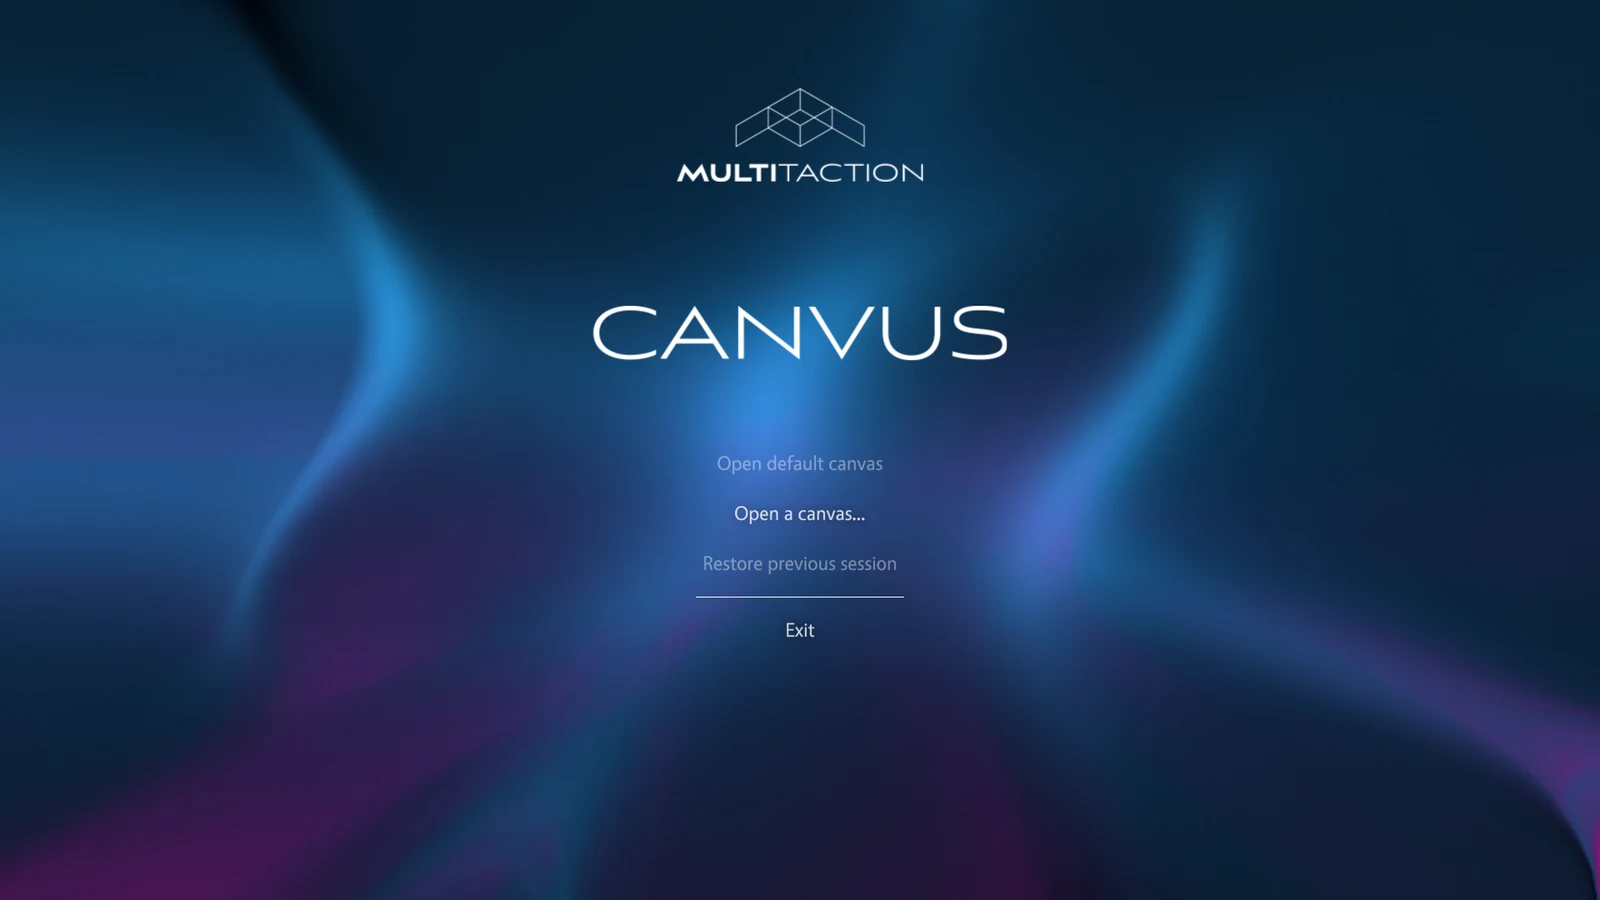
When no canvas is opened on a workspace, it will display a welcome screen. The welcome screen allows you to quickly:
- Open the default canvas (if specified)
- Open a specific canvas
- Restore the previous session
- Exit Canvus client (shown only when the configuration allows exiting)
Restore previous session reopens the workspaces and canvases from your last session, at the same view. After an unexpected shutdown, Canvus does this automatically. When the button is greyed out, its tooltip says why. See Undo and recovery.
Splitting a workspace
To split a workspace into two:
- Tap and hold any empty area on the left edge or right edge of the workspace.
- When the vertical split line appears, drag it to the position you want.
- The new workspace fills the area between the split line and screen edge. At the same time, the existing workspace shrinks to fill remaining area.
Note
There is a minimum width for a workspace. You can not create a very thin workspace.
Remove a workspace
To remove a workspace, you drag the split line:
- Tap and hold the split line between the two workspaces.
- Drag or flick the split line left or right, depending on which workspace you want to remove.
Note
There is always a split line between two workspaces. When you remove a workspace, the adjacent workspace extends automatically to fill the vacant space.
Sessions
Each workspace is always associated with a session. A session keeps track of user authentication. When Canvus operates in multi-user mode, each workspace has a separate session independent of other workspaces. In single user mode, all workspaces share the same session.
When a split workspace is removed, its session ends and the participant avatars associated with that workspace are cleared from the participant list. Remaining workspaces keep their own sessions and participants unchanged.
Workspace settings
Each workspace has its own settings in Settings menu > Workspace > General:
- Show info panel shows or hides the info panel on this workspace.
- Always allow web browser popups lets browser widgets in this workspace open every popup a web page requests.
- Snap to canvas items turns snapping on or off for this workspace.
Canvus remembers these settings with the session. See Canvas settings.