Getting Started
This tutorial builds a first app: an animated background with a web page on top, and a toolbar that lets visitors pin and close the page. It takes about ten minutes.
Using the touch screen
Visitors interact with MT Showcase using fingers and hands, infrared pens, and Codice cards.
- Fingers and hands: the gestures are the ones people know from phones and tablets. Drag to move an item, pinch and spread to resize it, and tap to press buttons and open items. To open a finger menu or rotating menu, tap and hold an empty area of the screen.
- Infrared pens: the pens have an infrared LED in the tip. Use them to annotate images and documents, or to draw directly on the screen. To rub out pen annotations, place an eraser card face down on the screen and move it over the drawing.
- Codice cards: a Codice is a 2D marker printed on a card. Depending on how a code is set up, holding a card against the screen opens a personal space, launches content, erases annotations, or controls volume or video playback. See Codice Cards.
Before you begin
- The MT Showcase server is installed and running. See the installation documentation.
- A player is running. The player (the MT Showcase client) displays apps on the wall. You can build an app without one, but you need a player to see the result. Sit or stand where you can see the wall while you work.
- You have an Editor account. Your administrator creates accounts and assigns roles. On a new installation, the first administrator account is created during first-run setup.
Sign in to the Editor
The Editor is a web application. You open it in a browser on any computer, laptop or tablet that can reach the server.
-
Browse to the server's address over HTTPS. You do not need a port number. For example, if the server's address is 10.30.1.75, browse to:
https://10.30.1.75Note
MT Showcase ships with a self-signed certificate, so your browser warns that the connection is not private the first time you visit. You can continue past the warning. To remove it, ask your administrator to install a certificate from a certificate authority. See Users and Security.
-
Enter your email address and password, and sign in. For password resets, two-factor authentication and single sign-on, see Users and Security.
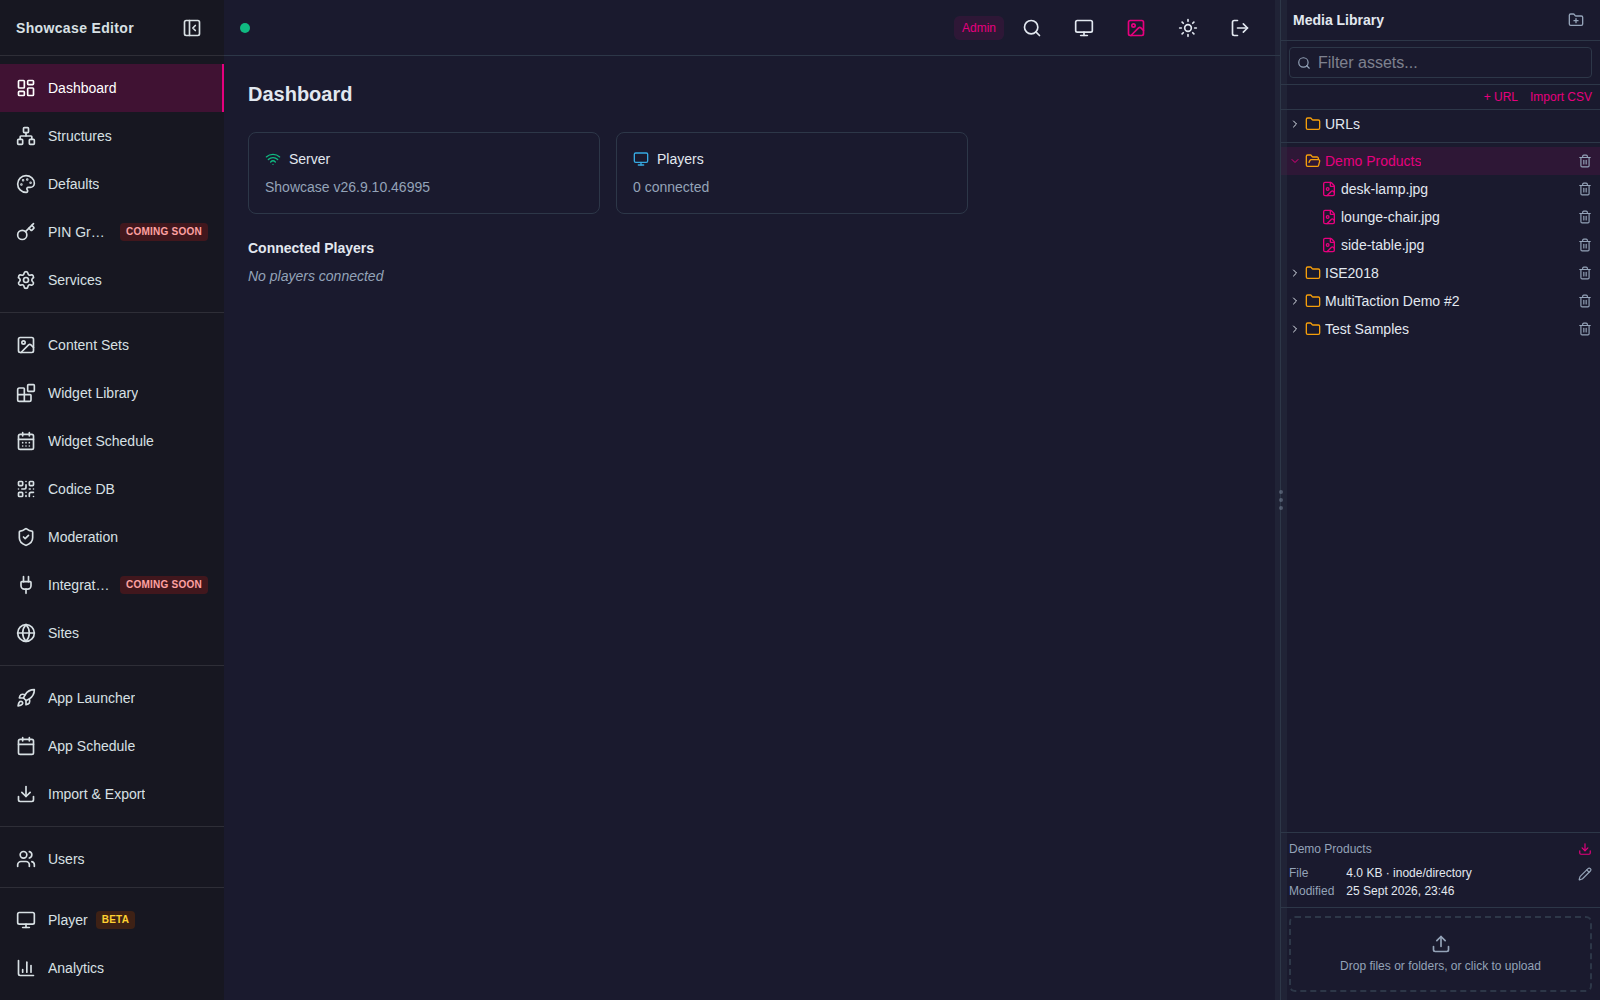
The Editor opens on the Dashboard. It shows the server and license status and the Connected Players. The navigation on the left leads to everything else, and the Media Library panel is always available at the side.
Changes save automatically
There is no Save button to remember. The Editor saves each change as you make it and shows Saving… while it works. Use Undo (Ctrl+Z) and Redo (Ctrl+Shift+Z) to step back and forward, and Revert to return a widget to how it was when you opened it. Ctrl+S forces an immediate save. On macOS, use Cmd instead of Ctrl.
Step 1: Create the app
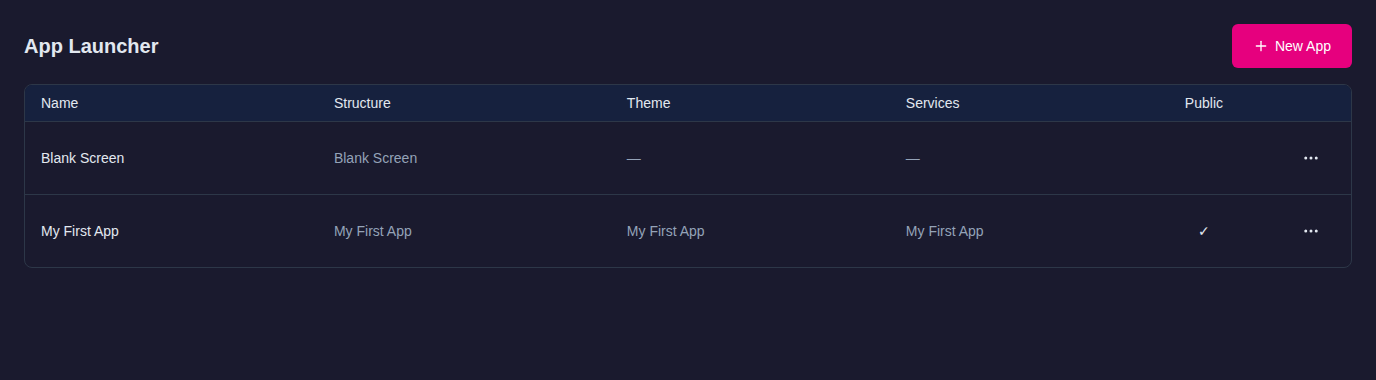
- Click App Launcher in the left navigation.
- Click New App.
- Enter a name, for example My First App, and confirm.
The new app appears in the list. Creating it also created three things the app needs, all named after it:
- A structure, My First App. This is the app's layout: which widgets are in which layer.
- A theme, My First App. These are the default attribute values for the app's widgets. See Themes.
- A service set, My First App, with an email service (My First App Email) and a data gathering service (My First App Data Gatherer). See Service Sets.
The Structure, Theme and Services columns show what the app uses. To change them, open the row's … menu and choose Edit.
Step 2: Add an animated background
-
Click Structures and select My First App.
The structure tree shows the app's layers: Overlay layer, Menu layer, Main layer and Background layer, plus the Menu access gate. For what each layer is for, see Structures and layers.
-
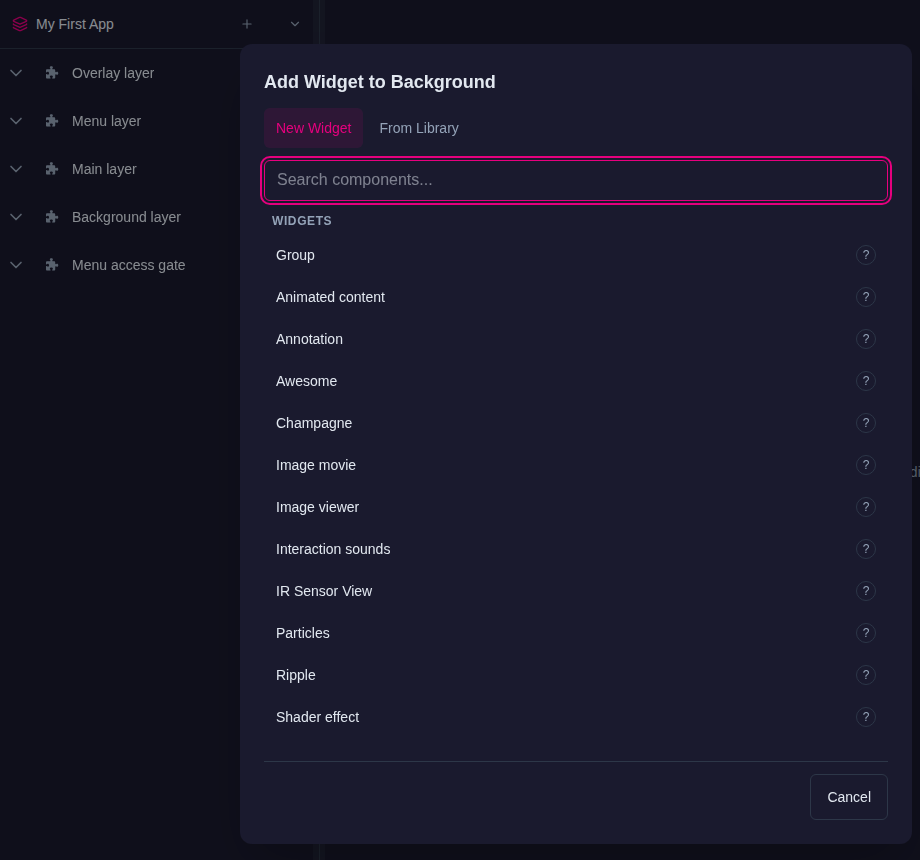
On the Background layer row, open the … menu and choose Add Widget.
- In the Add Widget to Background layer dialog, select Shader effect. Use the search box to find it quickly. To see what a widget does before adding it, click its ?.
The background appears in the tree. If a player is already running the app, it appears on the wall straight away.
Step 3: Add a web page
- On the Main layer row, open the … menu and choose Add Widget, then select Web browser.
- With the web browser selected in the tree, its attributes appear on the right. Set URL to the page you want, for example
https://www.multitaction.com.
Tip
Leave Pin the widget when it opens? off for now. A pinned widget cannot be moved or resized until it has a toolbar with a Pin button, which you add in Step 6.
Step 4: Run the app on the wall
- Click Dashboard.
- Under Connected Players, find your player. In its drop-down list, choose My First App from the App Launcher group.
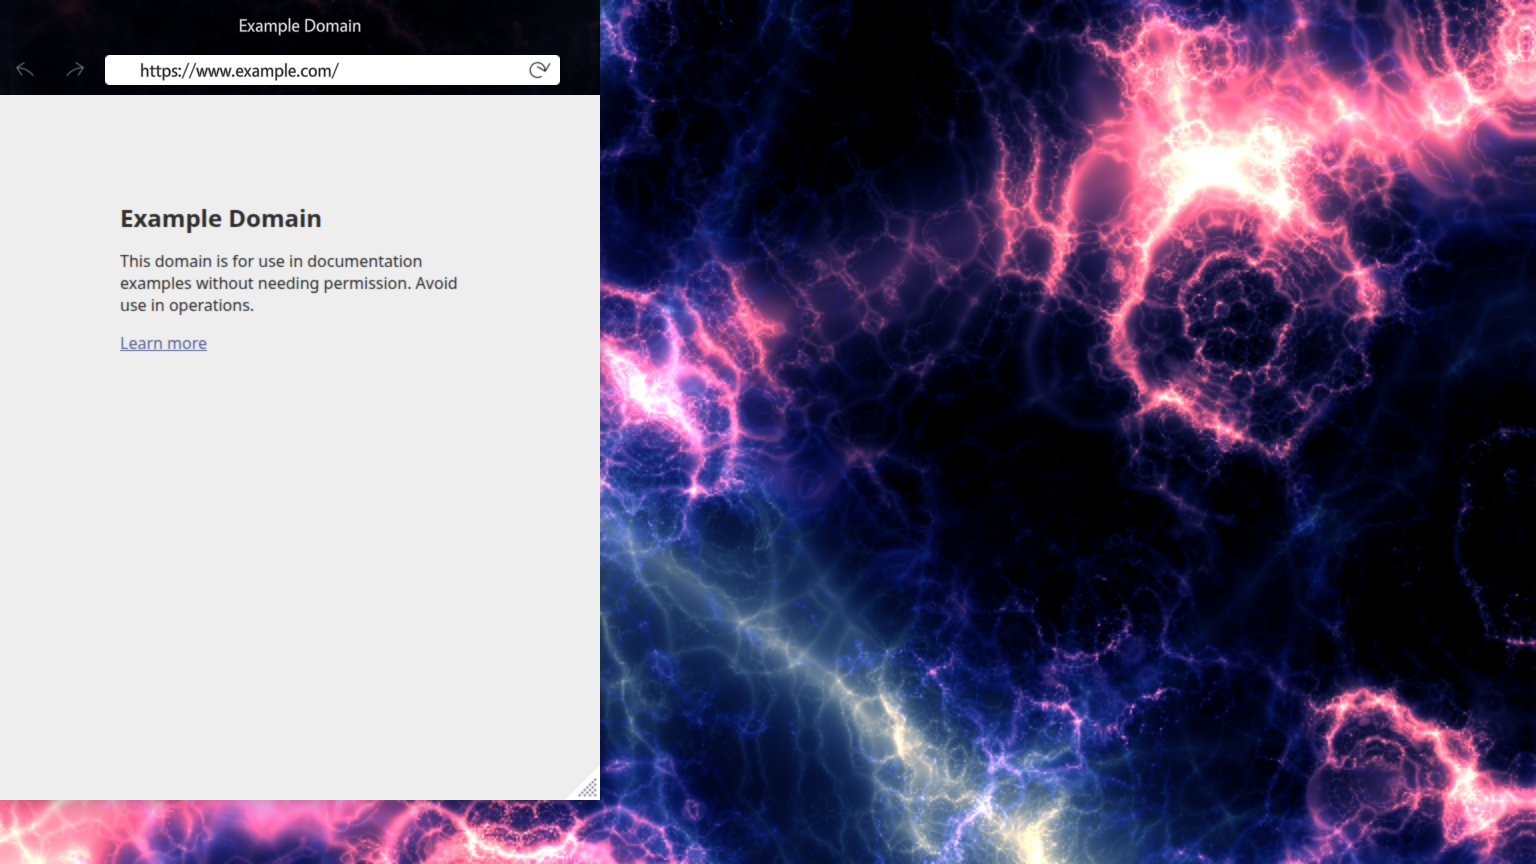
The player switches to your app. Drag, rotate and resize the web page with your fingers. To close it, drag it off the screen.
You can also choose which app a player runs from the connected-players menu in the Editor's header.
You can't browse the web page yet
Touches on an unpinned web page move and resize it, so you cannot scroll or click links yet. Browser widgets must be pinned before visitors can use them. The toolbar in Step 6 fixes this.
Step 5: Adjust the app
App design is trial and error. Because changes save and reach the wall as you make them, you can adjust an attribute and look up at the wall to see the effect.
- Try another background. Select the Shader effect in the tree, open its … menu and choose Delete. Then add Awesome to the Background layer instead. Select it and raise Animation speed to make the clouds drift faster.
- Position the web page. Select the web browser and try these attributes:
- Location: the position of the widget's top-left corner, in pixels.
0 0is the top-left corner of the screen. Try200 0to move the page 200 pixels to the right. - Scale: the size multiplier.
1.5shows the page at 150% of its default size. - Enable resize handle: shows a resize handle in the page's bottom-right corner.
- Location: the position of the widget's top-left corner, in pixels.
- Undo a change with Undo or Ctrl+Z if you don't like it.
Each attribute shows where its value comes from. Use Default is on when the widget follows the app's theme. When you type a new value, the toggle switches off and the value applies to this widget only. Turn Use Default back on to return to the theme's value. See Themes.
Less-used attributes are collapsed under Advanced (n) at the end of the list.
Step 6: Add a toolbar
A toolbar gives a widget buttons, such as Close, Pin, Maximize and annotation color and clear buttons. A toolbar is a shared widget: you create it once, and any widget in any app can use it.
- Select the web browser. In its Slots, open the drop-down list on Toolbar and choose + Create new....
- In the Create New Widget dialog, enter a name, for example Pin and Close, and confirm. The Editor switches to the Widget Library and opens the new toolbar in the Edit: Pin and Close dialog.
- In the dialog's Slots, on Primary toolbar buttons (top), click Choose buttons….
- In the Buttons in Primary toolbar buttons (top) dialog, tick Close button and Pin button, and click Apply.
- Click Save. The Editor attaches the toolbar to the web browser and returns to Structures.
If you click Cancel instead of Save, the toolbar is still created and listed in the Widget Library, but the web browser does not use it yet. Choose it from the browser's Toolbar list.
To change the toolbar later, click its row under the web browser in the structure tree, or open it from Widget Library.
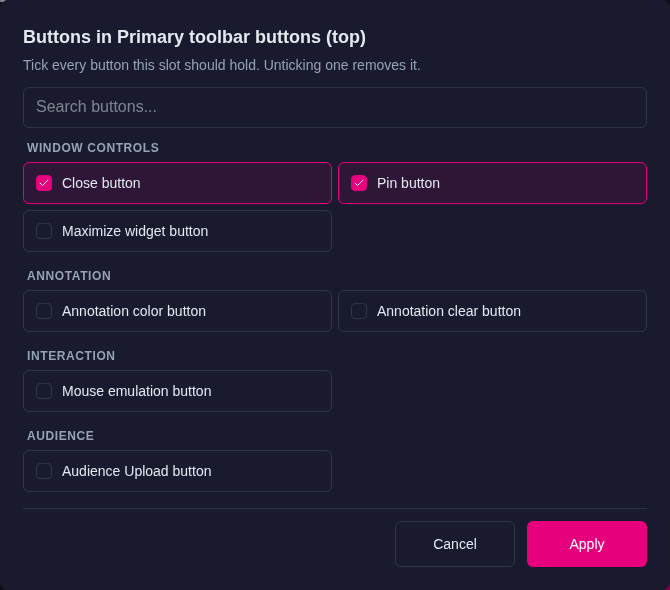
Toolbars have three button positions: Primary toolbar buttons (top), Primary toolbar buttons (bottom) and Secondary toolbar buttons. For the full list of buttons, see Toolbars.
Step 7: Test the toolbar
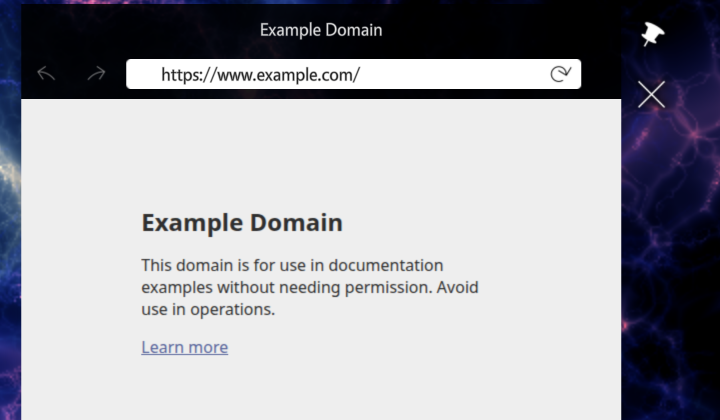
The toolbar appears beside the web page as soon as the page opens on the wall. Tap Pin to lock the page in place; you can now scroll and click links. Tap Pin again to unpin it, or Close to close it.
If you closed the web page and want it back, go to Dashboard and click the player's Running! Restart? button. Restarting reloads the app in its initial state: all content returns to its starting positions, videos restart and annotations are cleared.
About pinning
Normally, visitors can move and resize any widget. Pinning locks a widget's size and position so it cannot be moved off-screen or shrunk by accident, and lets touches reach the widget's content instead of moving it.
For each widget, you decide:
- Whether it is pinned when it opens (Pin the widget when it opens?).
- Whether its toolbar has a Pin button, so visitors can pin and unpin it.
Several widgets must be pinned before visitors can use them:
- Cloud widget: to rotate the ball and select items.
- Image movie: to open the movie in interactive mode and control playback.
- Input visualizer in the Main layer: to test touch events. An Input visualizer in the Overlay layer does not need pinning.
- Missile command and Pong: to play the games.
- PDF book and PDF flow: to page through the document.
- Taction model: to interact with the 3D model of a MultiTaction Cell.
- Web browser: to browse the page.
Tip
To pin every widget in an app when it opens, set Pin the widget when it opens? in the theme's Widget behavior defaults. See Themes.
Next steps
- Understand how apps, structures, themes and content sets fit together: Concepts.
- Add menus of images, videos and PDFs: Content Sets and Finger Menus.
- Build interactive exhibits that react to several touches: Groups and Logic.