Managing content
You can manage content on a canvas by accessing functions in its title bar and sidebar. Typically the title bar is above the item and the sidebar is to the right. Their locations may change if there is no space to visualize them.
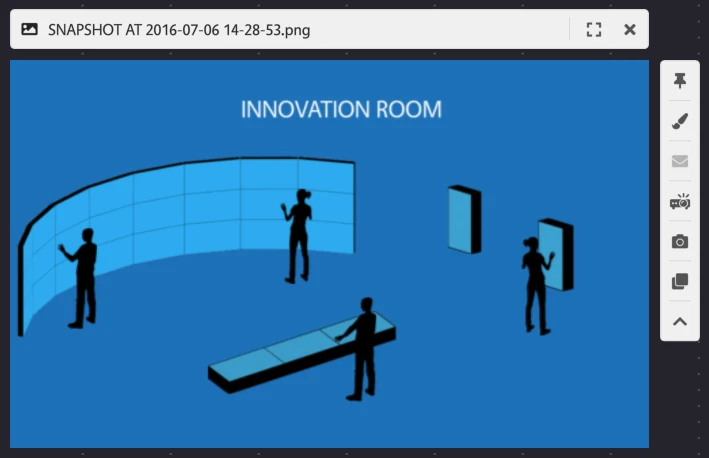
Pinning content
Most content (like images, movies, browsers, notes, etc.) on a canvas can be pinned. If you pin an item, its scale and position relative to the canvas is fixed. You cannot use your fingers to move or scale the item independently of the canvas.
You can also pin the canvas itself. When a canvas is pinned, you cannot move or scale it. You cannot drag it to view a different region of the canvas, nor can you zoom in or out.
To pin an item on canvas:
- Press the pin button on the sidebar of the item
Note
Pinning changes how you interact with a widget. While unpinned, dragging or scrolling on the widget moves or scales it along with the canvas. While pinned, the same gestures interact with the content itself: scrolling a web page in a browser, paging through a PDF, scrubbing a video, or sending input to an RDP session.
You must pin a browser before you can interact with the web page. You must also pin a PDF before you can page through the document.
Floating content
Desktop client only. The web-client does not currently support floating widgets in view.
You may want to lock an item on canvas so it is permanently visible on-screen, regardless of how you move or zoom the underlying canvas. To achieve this effect, you can float the widget above the canvas so its position and size do not change if you move or zoom the canvas.
Think of floating as if the item is stuck to the screen glass. However, unlike pinned items, you can still use your hands to move or resize floating widgets independently of the canvas beneath.
To float an item on canvas:
- Press the float button on the sidebar of the item
Note
Floating is only available for video inputs.
Grouping items together
You can group items on the canvas, allowing you to move and scale them together.
- If required, resize or scale the child item to make it smaller than the parent item. When you group items, the child item must be smaller than the parent item. If the child item is too big, you cannot group it with the parent.
- Drag and hold the child item over the parent item so the pin border is positioned anywhere inside the parent's border.
- When two items are grouped, their borders briefly flash. To ungroup an item, drag it away from its parent.
Duplicating items
The Duplicate feature allows you to quickly create copies of screen items such as notes, tables, images and browsers. You can then modify the copied items as required.
For example, you may need a series of notes with the same size and text headings. You can set up your first note as a template and then duplicate it several times.
To duplicate an item:
- Press the more... button in the sidebar
- In the sidebar, press the duplicate button
Sending items in email
You can send screen items such as notes, images, videos, PDFs, browsers and tables to an email address. This provides a simple method for exporting screen content out of Canvus.
To send an item:
- Press the more... button in the sidebar
- Press the email button and enter the address
What Canvus sends depends on the item:
- Note: A snapshot image of the note, with any ink on it, and a text file with the note's text.
- Image: The original image file. If the image has ink on it, or other items placed on it, Canvus sends a snapshot image of what you see instead, with the ink drawn in.
- Video: The original movie file. Ink drawn on the video is not included.
- PDF: The original PDF file. If the PDF has ink on its pages, Canvus sends a copy of the PDF with the ink added to the pages as PDF annotations. Notes and other items placed on the PDF are not included.
- Browser: A snapshot image of the page and an HTML file that links to the web address.
- Table: A snapshot image of the table, and each item in the table as described in this list.
- Other files: The original file. Ink drawn on the item is not included.
Snapshot images are PNG files. You get the same files when you drag an item onto a disk or USB drive. See Copy an item to a disk or USB drive.
Note
From Canvus 26.11.1, email is off until an administrator turns it on. Until then the email button is greyed out. See Email settings.
Using tables
Tables provide a fast and easy way of arranging screen content in rows and columns. For example, you can add images, videos, browsers, and notes into table cells.
You can set the overall size of the table and choose the number of rows and columns. You can also resize individual rows and columns.
For more complex table layouts, you can nest tables by dragging a smaller table into any cell of a larger table, and you can arrange multiple tables into a single extended grid.
To create a table:
- Open the finger menu.
- Press the toolbox button.
- Press the create table button.
- In the create table widget, tap or drag to select the number of rows and columns.
To add content to a table:
- If required, resize or scale the item you want to add to make it smaller than the table cell.
- Drag the item you want to add to a table cell
To remove content from a table:
You must pin a table before you can drag widgets out of table cells.
- Pin the table
- Drag the item out of the table cell
Selection
You can select annotations and items on a canvas to move and scale them. To select annotations or items:
- Open the finger menu.
- Press the pen button.
- Press the lasso button.
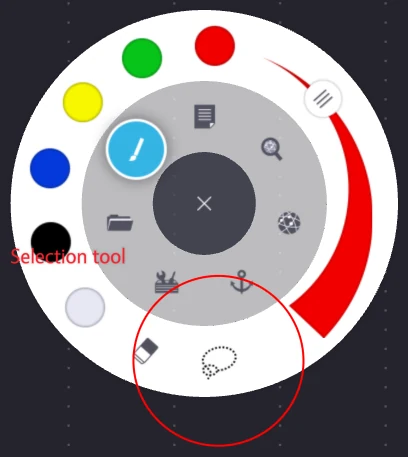
After pressing the lasso button, the workspace enters selection mode. While in this mode, you can use a pen to select items and annotations. A white dashed border is rendered around the workspace and the text Selection mode is displayed at the bottom of the viewport.
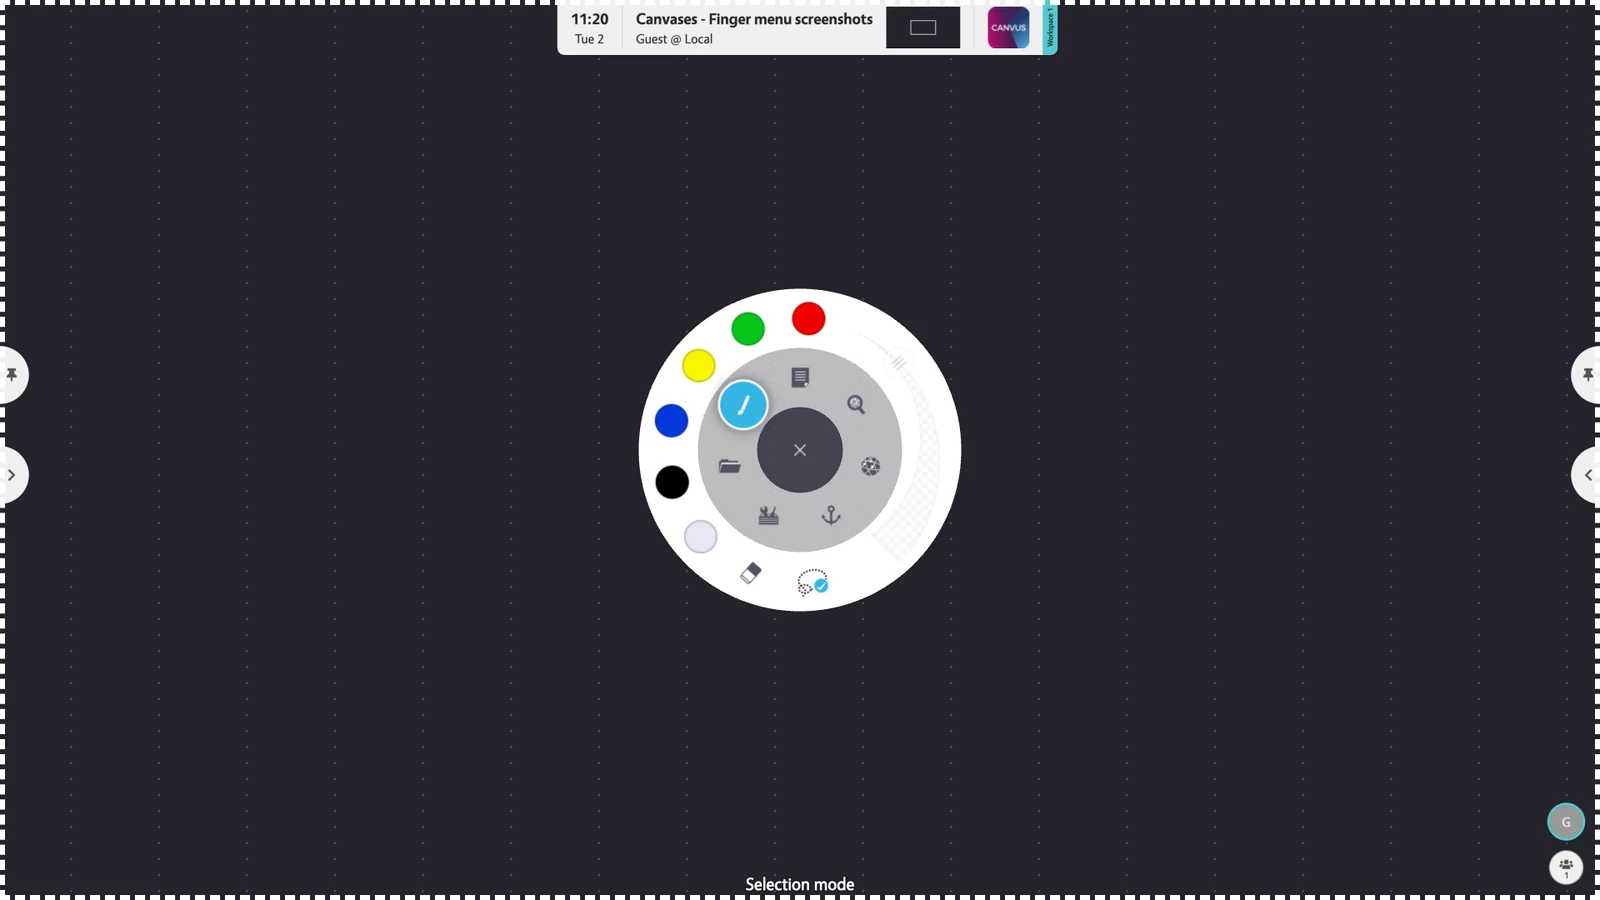
To exit selection mode, press the pen button in the finger menu and tap on the lasso tool again or choose another color for the pen. This will automatically switch off the selection mode and the pen can be used to draw normally again.
Snapping
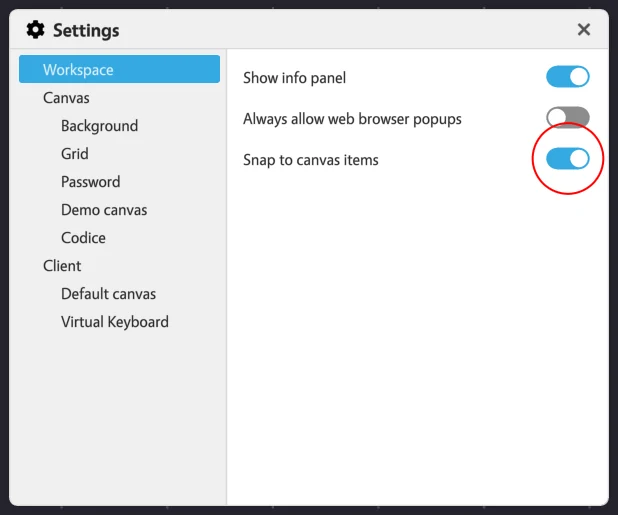
By default, when moving, rotating or scaling canvas items then will snap to each other in order to make creating visually pleasing layouts easier.
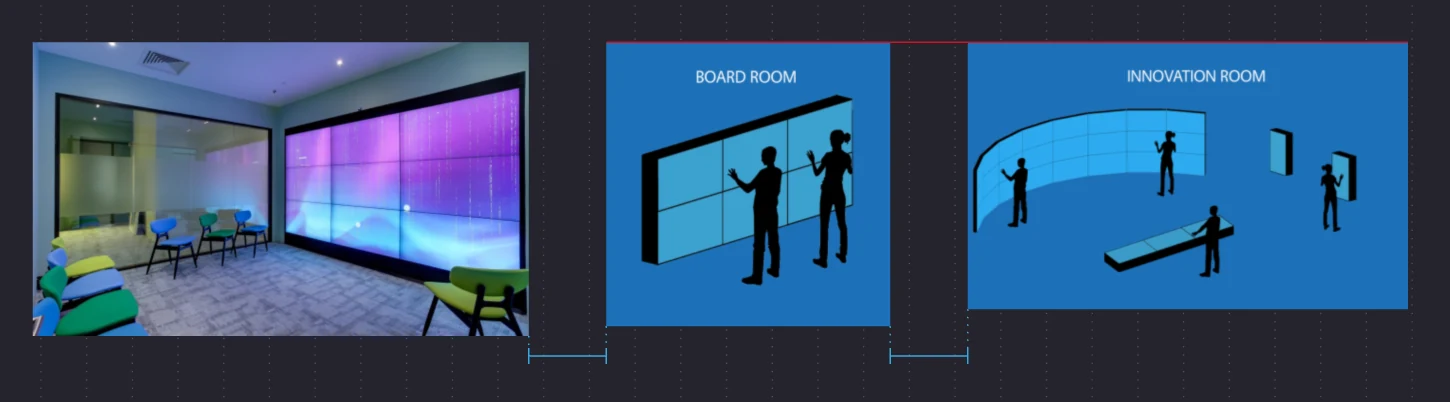
You can toggle snapping between canvas items on or off from the workspace settings menu:
Widget behavior notes
A few behaviors worth knowing when working with common widget types.
Browsers
- Signed-in sessions persist. When you sign in to a service in a browser widget (for example, a corporate SSO, Google, or Microsoft account), your session and cookies are retained across Canvus restarts. The next time you open the canvas, the browser remembers you.
- Guest browsers are private. Browsers created by guest users run in a private, in-memory session, and nothing is saved to disk. Closing Canvus or the canvas clears guest browser data.
- SSO and third-party cookies. Browser widgets support corporate single sign-on (SSO) flows that rely on third-party cookies. Administrators can tune this behavior through the
browser/cef-disable-featuressetting if a particular site needs different defaults.
PDFs
- When a PDF widget is resized (for example by a REST API call or a synchronized remote action), the page rendering re-lays out at the new size so pages stay crisp. You no longer need to re-open the PDF to refresh page quality after a size change.
- Annotations made on a PDF continue to migrate correctly across canvas exports, imports, and version upgrades.
Videos
- On Windows, the playback controls for local video files render reliably on every video widget.
- Video duration is reported back to the canvas data model, so video widgets report their length consistently across clients and the REST API.
Connectors
- When a canvas loads, connectors now display their state icons (such as line width) in the connector's title bar as soon as they appear, without having to select or refresh them first.
- Connector bullets (the connection points shown on widget edges) are hidden by default. Each widget's sidebar includes an arrow button that toggles that widget's connector bullets on or off. This restores the opt-in connector visibility behavior originally introduced in Canvus 3.2, replacing an intermediate behavior where bullets appeared automatically whenever a widget was activated.
Exporting and importing canvases
You can export a canvas to a file and import it back again. You may want to do this for backup purposes or to move the canvas to a different video wall or server. You can also copy a canvas between your local canvases and Canvus Server, to share it with users in other places.
Export a canvas to Canvus Connect server
By default, Canvus client can only display local canvases, stored on your video wall or your laptop. But it can also display shared canvases stored on Canvus Server. Shared canvases let users in different places work on the same canvas at the same time. See Multi-site collaboration and asset sync.
To share a local canvas, drag your local canvas onto the server in the Canvas List widget. In effect, you are exporting your local canvas to Canvus Server.
Similarly, you can import a shared canvas onto your local computer. For example, you may want to edit the canvas on your laptop while offline. Drag the shared canvas from the server into the Local folder in the Canvas List widget.
Export a canvas to disk or USB
You can export canvases to a local disk or a connected USB drive. Drag the canvases from the Canvas List onto the disk or drive and confirm. Each canvas becomes one self-contained .mtcanvus file, which includes the files the canvas uses.
- Destination folder. When you export to the root of a disk or USB drive, Canvus creates a new folder there named
Canvus-Export-yyyy-MM-dd-HH_mm_ss, where the suffix is the current date and time, and exports into it. When you drop the canvases on a folder, the files go straight into that folder. - Name conflicts. If a file with the same name already exists, Canvus asks whether to duplicate (export under a new name), replace or skip.
- Insufficient space. If the destination does not have enough free space for the canvas, the export fails with the message "Some of the selected canvases failed to export due to insufficient disk space." instead of leaving a partial copy. Free up space, or choose a different destination, and try again.
Import a canvas from disk or USB
Drag a .mtcanvus file from the disk or USB drive onto a server or folder in the Canvas List, or onto an open canvas. Canvus asks you to confirm, then imports the canvas.
For the full export and import steps, what a .mtcanvus file contains, and snapshots, see Snapshots and export.
Canvus folder
Canvus folder is a specific folder on the PC running the Canvus client that can be used to organize content and share it between canvases. The contents of the folder stay on the PC running the Canvus client and are not distributed to others via Canvus Connect.
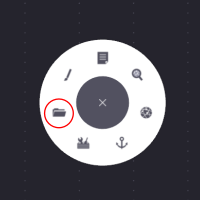
The default location of the Canvus folder depends whether the Canvus client is running in single user mode or multi-user mode:
- In single user mode, the Canvus folder points to the user's home folder on the operating system, for example
C:\Users\<name>on Windows and/home/<name>on Ubuntu. - In multi-user mode, the Canvus folder is stored under the client's data folder. It is shared between all users and canvases.
Note
It is also possible to specify a custom location for the Canvus folder. See Change the folder.
Uploads folder
Uploads folder is a folder that exists for each shared canvas stored on a Canvus Connect server. Content can be uploaded to the folder using the web UI and then arranged on the canvas using the desktop client.
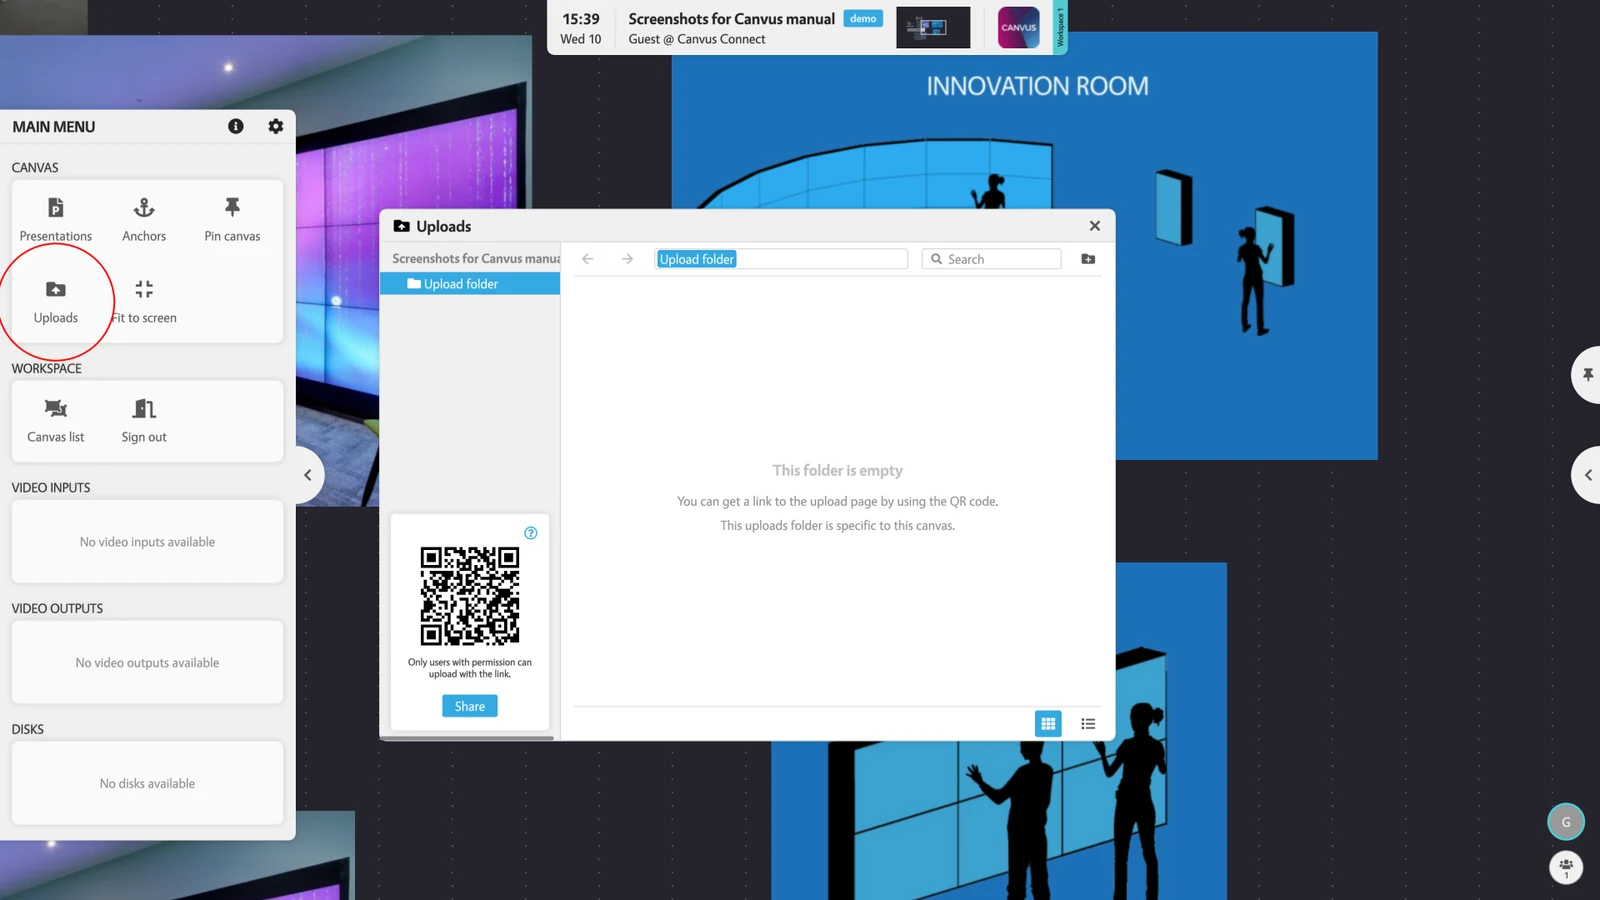
You might use the uploads folder while giving an interactive presentation where you allow the participants to contribute content to a canvas through the web UI. As all the content is placed first in the uploads folder, you have full control over when and how you want the uploaded content to appear on your canvas.
You can use shared_links to give people access to upload content. Any person with Editor access is able to upload content to the uploads folder.