Snapshots and export
MultiTaction Canvus gives you four ways to take content out of a canvas: a snapshot image, an email of an item, a copy of an item on a disk or USB drive, and an export of the whole canvas to a file. Each way handles ink differently. See What happens to your ink.
Snapshots
A snapshot captures part of the canvas, or one item, as a PNG image and places that image on the canvas. The image shows the ink and the items as you see them. From there you can email it, output it or move it like any other image.
Snapshot an area of the canvas
- Press and hold an empty area of the canvas to open the finger menu.
- Tap Toolbox, then Snapshot. On walls that use third-party IR touch, Snapshot is in the main finger menu instead of the toolbox.
- A snapshot frame appears. Drag it and resize it to cover the area you want. The frame cannot be larger than the workspace.
- Tap the camera button on the frame.
The image appears on the canvas over the area you captured, titled "Snapshot at" followed by the date and time. Tap the cancel button to close the frame without taking a snapshot. An unused frame closes by itself after 30 s.
Snapshot one item
- Tap the item to show its sidebar.
- Tap more..., then the camera button.
The image appears on the canvas next to the item, titled "Snapshot of" followed by the item's title and the date. A snapshot of a PDF captures the current page and the annotations on it. A snapshot of an IP stream is not available while the stream is paused.
Snapshot resolution
Canvus renders the snapshot at the size the content has on the canvas. If items in the area are scaled down, Canvus raises the resolution to keep them sharp, up to 5 times. Two settings in the [system] section of mt-canvus.ini control the result:
| Setting | Default | Effect |
|---|---|---|
max-snapshot-resolution |
8192 | Longest edge of a snapshot, in pixels. Larger snapshots are scaled down to fit, keeping their shape. Values below 256 are treated as 256. |
snapshot-scale |
1.0 | Multiplier applied to the snapshot resolution before the limit above. |
See the configuration file reference.
Email an item
You can email notes, images, videos, PDFs, browsers and tables from an item's sidebar. See Sending items in email for what Canvus sends for each kind of item.
Copy an item to a disk or USB drive
You can save an item from the canvas as files on a disk, a USB drive or the Canvus folder.
- Open the drive from Disks in the main menu, or open the Canvus folder with Files in the finger menu.
- Drag the item from the canvas onto the folder window, or onto a folder in it.
To add a network share or another drive to Disks, or to change the folder that Files opens, see Files in and out.
Canvus copies the item and leaves it on the canvas. You get the same files as when you email the item, named after the item's title. If the folder already holds a file with that name, Canvus saves the new file under a different name.
What happens to your ink
On the canvas, ink drawn on an item belongs to that item. See Pens and ink. When content leaves Canvus, the ink goes with it like this:
| How it leaves | Ink |
|---|---|
| Snapshot of an area or an item | Drawn into the image. |
| Email, or copy to a disk or USB drive: image | Without ink or items on it, you get the original image file. With ink, or with other items placed on it, you get a snapshot of what you see, with the ink drawn in, instead of the original file. |
| Email, or copy to a disk or USB drive: PDF | Without ink, you get the original PDF file. With ink on its pages, you get a copy of the PDF with the ink added to the pages as PDF annotations. The page content itself is unchanged. Notes and other items placed on the PDF are not included. |
| Email, or copy to a disk or USB drive: note, browser or table | The snapshot image that comes with the item shows the ink. |
| Email, or copy to a disk or USB drive: video or other file | You get the original file only. Ink drawn on it is not included. |
| Drag onto a web page in a browser | You get the original file only. Ink is not included. A note is uploaded as its text. See Upload an item to a web site. |
| Export of the canvas | Kept as ink. Each stroke stays attached to its item, so it is back in place when you import the canvas. |
Export a canvas
You can export canvases from a server or from your local canvases to a disk or a USB drive.
- Open the Canvas List from the main menu.
- Drag one or more canvases, or a folder of canvases, onto the disk or USB drive.
- Canvus asks "Export 1 item?" (or the number you dragged). Tap Export.
- If the destination already holds a file with the same name, choose Duplicate (export under a new name), Replace or Skip.
- If a canvas has an owner password, Canvus asks for it. You can skip that canvas instead. See Canvas passwords.
What you get:
- One
.mtcanvusfile per canvas, named after the canvas. A folder you export becomes a folder of.mtcanvusfiles. - A dated folder at the root of a drive. If you drop the canvases on the root of a disk or USB drive, Canvus first creates a folder named
Canvus-Export-yyyy-MM-dd-HH_mm_ss(the current date and time) and exports into it. Anywhere else, the files go straight into the folder you dropped them on. - No partial copies. A canvas that cannot be exported leaves no file behind. If you chose Replace, the file that was already there is left as it was. An export folder that was left empty is removed.
When the export finishes
Canvus shows the result for a few seconds at the top of the folder window you dropped the canvases on.
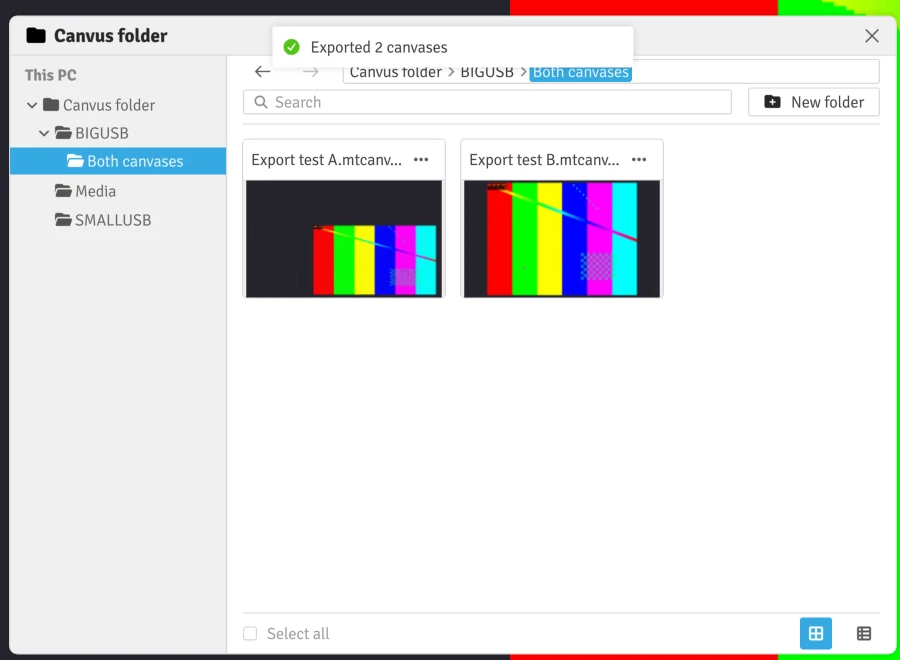
When every canvas is saved, the message says how many, for example Exported 2 canvases.
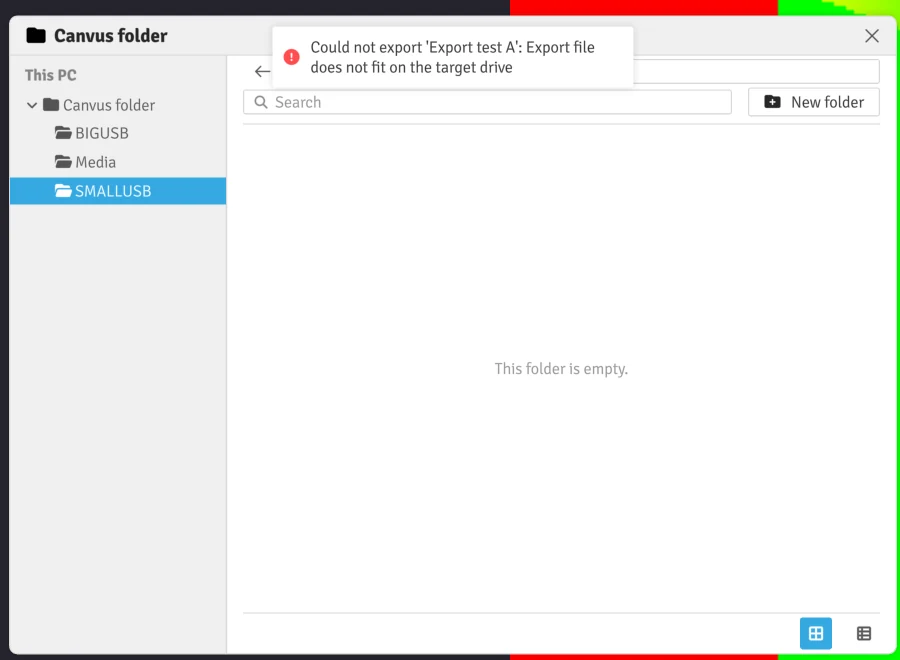
When a canvas cannot be exported, the message names it and says why, for example Could not export 'Export test A': Export file does not fit on the target drive.
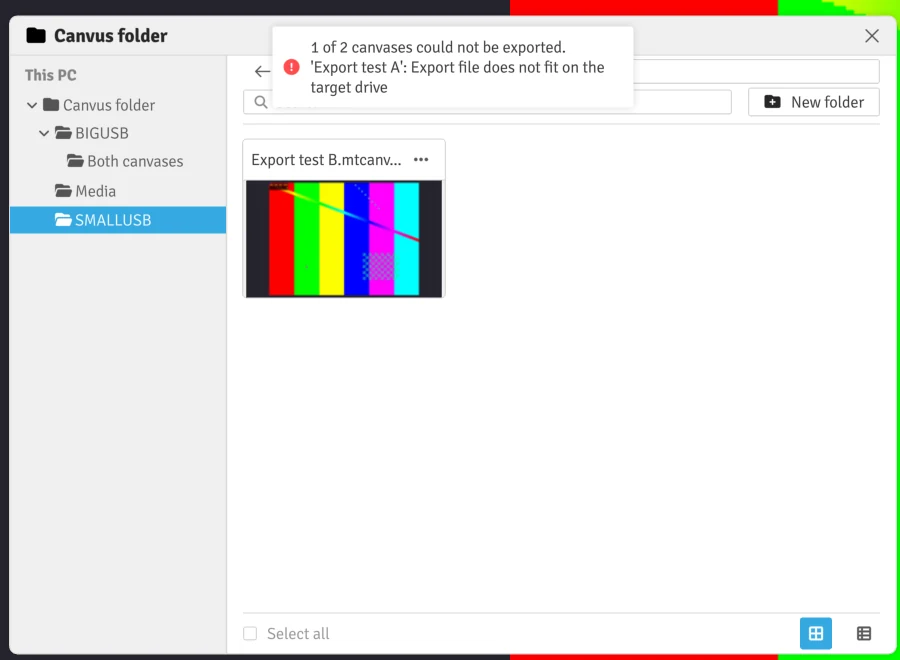
When you export several canvases and only some of them fail, the others are saved. The message says how many could not be exported and lists each one with the reason.
Export to a USB stick
Canvus checks that the export file fits on the drive before it starts copying, so a canvas that is too big fails at once instead of part way through.
- FAT32 drives hold files up to 4 GB. Most USB sticks are formatted as FAT32. An export file holds every image, video and document of the canvas, so a canvas with more than 4 GB of content cannot go onto a FAT32 drive. Use a drive formatted as exFAT or NTFS.
- Replace needs room for the whole new file. The space the existing file takes is not counted as free, so the drive needs room for both while the export runs.
The .mtcanvus file
A .mtcanvus file is a single, self-contained copy of one canvas: its items and their layout, and the files the canvas uses, such as images, videos and PDFs. Presentations stored with the canvas travel with it. Use it to back up a canvas, to move a canvas to another server or wall, or to keep a copy offline. The file is meant to be opened by Canvus, not edited by hand. To read it with your own tools, for example to archive or index exports, see The .mtcanvus file format.
Warning
A .mtcanvus file is not encrypted. Anyone who has the file and a copy of Canvus can import it and see the content. Store and transfer it as you would the original files.
Import a canvas
To bring an exported canvas back into Canvus:
- Into a folder. Open the Canvas List and drag the
.mtcanvusfile (or a folder of them) from the disk or USB drive onto a server or folder. If the folder already holds a canvas with the same name, choose Replace or Skip. Replacing a password-protected canvas asks for its owner password. - Onto an open canvas. Drag the
.mtcanvusfile onto an open canvas. Canvus asks "Import 'name' to server?". Tap Import to add the canvas to the default folder on the server that hosts the open canvas.
A progress indicator shows the import, and "Imported name" appears when it is done. When you drop the file on an open canvas and the default folder already contains a canvas with the same name, the import fails and the existing canvas is not changed. To replace it, import the file through the Canvas List and choose Replace.