Screensaver
A screensaver appears when nobody has used the app for a set time. Visitors tap the screen to clear it and return to the app. An app can have one screensaver or several.
- Screensaver contents: the simplest screensaver shows an animated background such as Awesome or Shader effect. A screensaver can also show an Image viewer, Image movie, Video viewer, Video carousel or Text viewer, the Champagne, Particles or Sparkles effects, the IR Sensor View, Animated content, or an App switcher.
- Several screensavers: by default, a screensaver fills the whole screen. You can give it a custom size and location instead, for example to show different screensavers on different parts of the wall.
- Screen lock: a screensaver can also lock the screen. While the screen is locked, the screensaver cannot be dismissed and blocks all input to the app underneath. See Lock the screen.
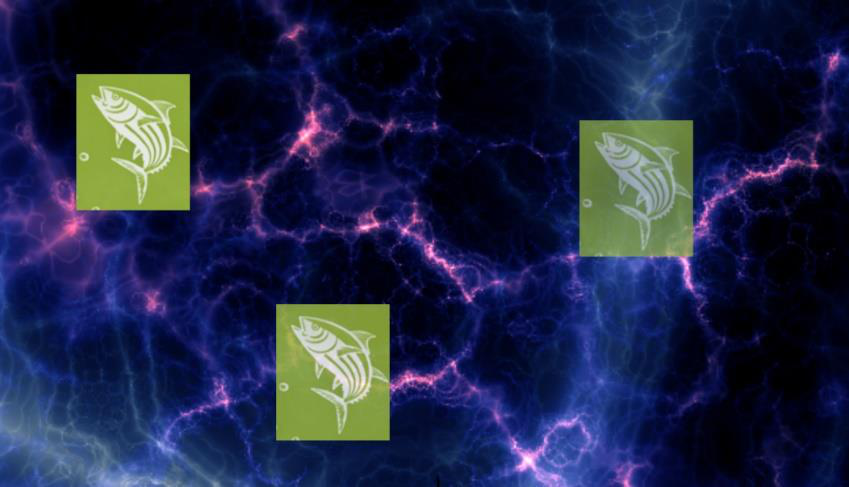
Add a screensaver to your app
- Click Structures and select the structure.
- On the Overlay layer row, open the … menu and choose Add Widget, then choose Screensaver.
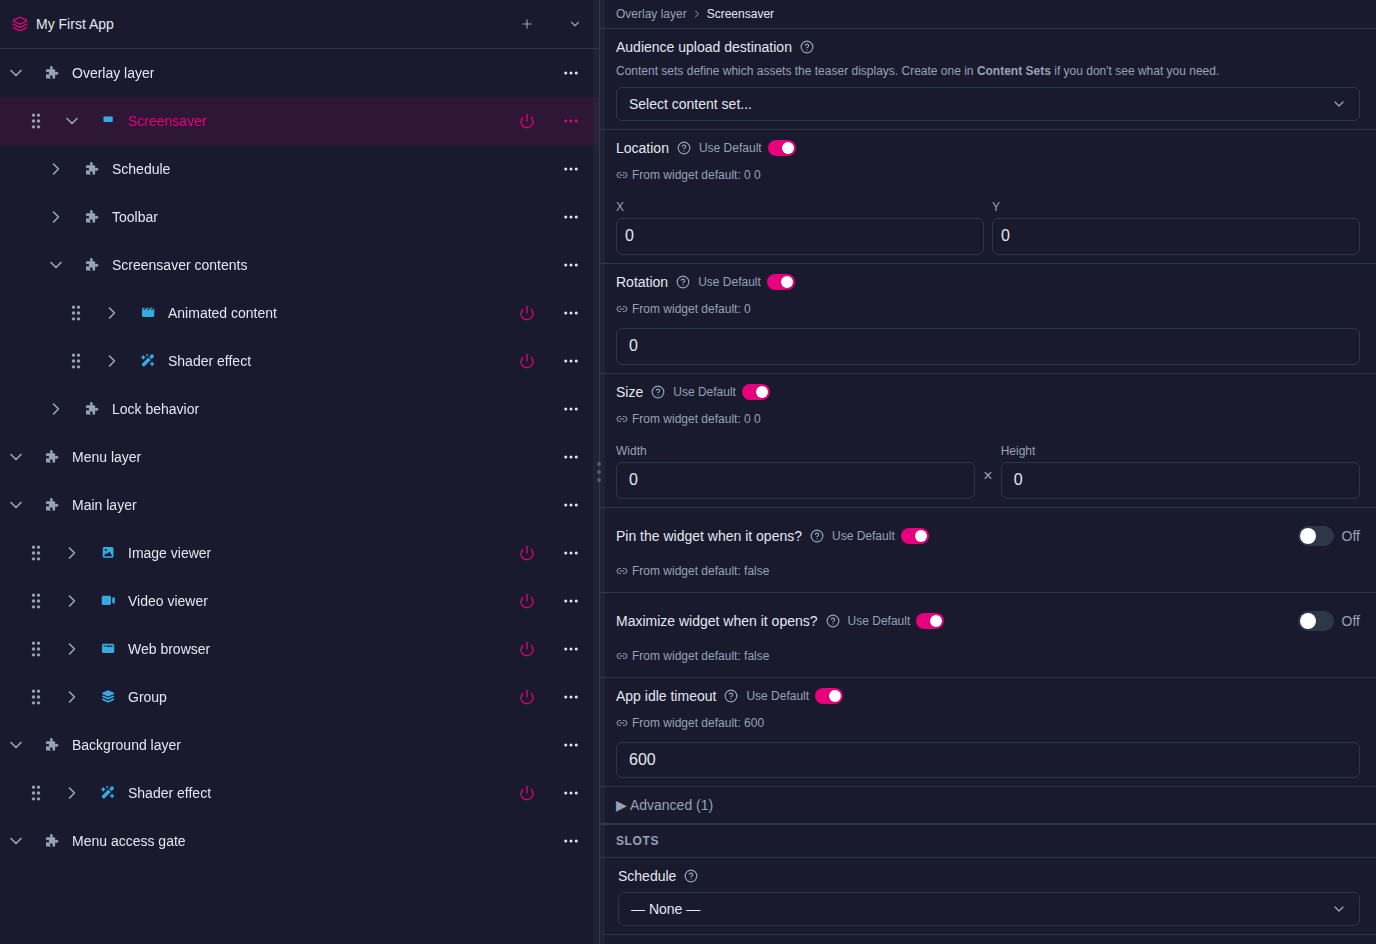
- Select the screensaver in the structure tree and set its attributes:
- Size and Location: leave Size at
0 0for a screensaver that fills the whole screen. For a smaller screensaver, set its size in pixels and its Location (top-left corner). - App idle timeout: how long, in seconds, the app must go unused before the screensaver appears. The default is 600 (10 minutes). Set it to
0if the screensaver should never appear by itself, for example when it is only used to lock the screen. - Crop screensaver content (Advanced): applies only to a screensaver with a custom size. By default, content that overflows the screensaver's area is cropped. Turn it off to let content overflow.
- Size and Location: leave Size at
- If the app has several screensavers, give each one a clear name: open its … menu and choose Rename.
Changes save automatically.
Add content to the screensaver
- In the structure tree, expand the screensaver and find its Screensaver contents row.
- Open the row's … menu and choose Add Widget, then choose the content. You can add several widgets, for example an animated background with images on top.
- Select each widget and set its attributes. For an image viewer, drag the image from the Media Library panel onto it.
Note
An animated background fills the screensaver's area by itself. An image or video does not: to make one fill the screen, set its Size and Location to cover the wall.
Lock the screen
A screensaver with a Lock behavior can lock the screen with a PIN or a Codice card. While the screen is locked, the screensaver stays up and blocks all input to the app until someone unlocks it.
Locking only happens when the screensaver is started with a Screensaver trigger. A screensaver that appears because the app was idle does not lock the screen, even if it has a lock behavior.
Add a lock behavior
- Select the screensaver in the structure tree.
- In its attributes, open the Lock behavior drop-down list and choose + Create new.... Enter a name, for example Staff lock, and confirm. To reuse a lock you already have, choose it from the list instead.
- Select the new Screen lock in the structure tree and set:
- Unlocking method: PIN entered at lock time (the default), Codice presented at lock time, or User choice of Codice or PIN entered at lock time. The person locking the screen chooses the PIN or presents the Codice card, and the same PIN or card unlocks it.
- PIN source: where the unlock PIN comes from.
- Set at lock time (legacy) (the default): the person locking the screen types a 4-digit PIN, as set by Unlocking method.
- Custom PIN: a fixed PIN that you enter in Custom PIN, 4 to 8 digits. The screen locks straight away with this PIN, and the unlocking method is always PIN.
- Named PIN Group: a PIN managed on the PIN Groups page. That page is marked Coming soon in this release, so use Custom PIN for a fixed PIN.
Add a screensaver trigger
A Screensaver trigger starts the screensaver on demand. You can add it anywhere content can be launched: a menu, a content hotspot or Codice content.
Note
If the app has several screensavers, a screensaver trigger starts all of them.
For example, to add a screensaver trigger to a content hotspot:
- Add a Content hotspot to the Main layer and set its Hotspot location and Hotspot size. To help visitors find it, add an image to its Hotspot visualization widgets. A new hotspot is transparent, so while you set it up, give it a Background color to find it on the wall. See Content Hotspots.
- On the hotspot's Widgets launched from hotspot around tap location row, open the … menu and choose Add Widget, then choose Screensaver trigger.
Lock and unlock the screen
To lock the screen, tap the hotspot. The screensaver starts. What happens next depends on the PIN source:
- Set at lock time: a Lock the screen dialog appears.
- PIN: type a 4-digit PIN on the number pad, tap Lock, type the same PIN again to confirm, and tap Lock again.
- Codice: place your Codice card on the dialog, check that the code shown is correct, and tap Lock.
- Custom PIN: the screen locks straight away with the preset PIN, and the Unlock the screen dialog opens at once. Type the preset PIN to unlock.
To unlock the screen, tap anywhere on the screensaver to show the Unlock the screen dialog. Type the PIN or place the Codice card on the dialog, then tap Unlock. With a Codice lock, you can also just place the card on the screen without tapping first.
Require a PIN before something opens
A PIN Lock asks for a PIN before a widget does its job. Use it to keep staff-only content or controls away from visitors.
Protect a widget or hotspot:
- In the structure tree, find the widget's Behavior operators row, open the … menu and choose Add Widget, then choose PIN Lock.
- Select the PIN Lock and set:
- When to challenge: On parent action (tap) (the default) asks for the PIN when a visitor taps the widget, for example a hotspot or button. On parent appearance hides the widget and asks for the PIN as soon as it opens, whatever opened it.
- PIN source: Custom PIN, then enter the PIN (4 to 8 digits). Named PIN Group uses a PIN from the PIN Groups page, which is marked Coming soon in this release.
Protect the app's menus:
The structure's Menu access gate holds an optional PIN Lock for the tap-and-hold gesture that opens menus from the Menu layer. On the Menu access gate row, open the … menu and choose Add Widget, then choose PIN Lock and set its PIN as above. Visitors must then enter the PIN before a menu opens. Leave the gate empty to let anyone open menus.