Plan the Application Computer
The application computer runs MT Showcase. It has video and Ethernet connections to the Cells in your video wall: it receives touch tracking data from each Cell and sends video back for display.
Complete this page before you install MT Showcase.
Requirements
Operating system
| Platform | Supported versions |
|---|---|
| Ubuntu | 24.04 LTS (x86-64). Earlier Ubuntu releases, including 14.04, 18.04 and 22.04, are not supported. OS images and installation instructions are at https://ubuntu.com. |
| Windows | Windows 10 or later (x64). |
| macOS | macOS 13 (Ventura) or later, on Apple Silicon. Intel Macs are not supported. Available from MT Showcase 26.09.1. |
Recommended application computer for a video wall
The recommended application computer for the MultiTaction Meeting Room solution is a MultiTaction Hydra server (model MTPCH04N):
- Case and motherboard: Supermicro SuperWorkstation 5038A-I
- CPU: Intel Xeon E5-1650
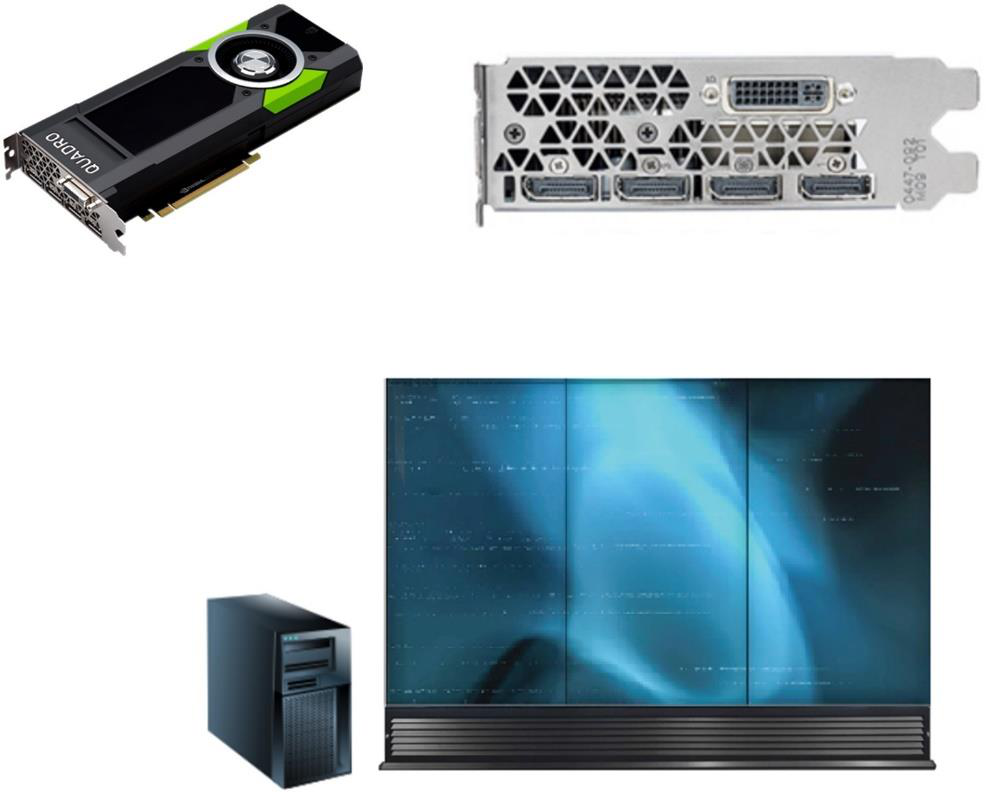
- GPU: NVIDIA Quadro P5000, 16 GB. The P5000 has four video outputs and can drive up to four Cells. The Meeting Room solution has three Cells. For larger video walls, use two, three or four P5000 cards, depending on the number of Cells.
- Memory: 16 GB DDR4. For larger video walls, we recommend 64 GB.
- Storage: 480 GB SSD
Lower-cost GPU for a single Cell
If you run MT Showcase on a single Cell only, an NVIDIA GeForce GTX 1080 (8 GB) is a lower-cost alternative to the P5000. It has not been tested on video walls with more than one Cell.
Leave room for imports and exports
Importing or exporting an app stages the whole archive on the application computer's disk. Allow roughly twice the size of your largest archive in free space.
Recommended laptop or desktop for developing apps
You can run MT Showcase on a laptop or desktop computer to develop and test apps before you move them to the video wall. We recommend:
| Component | Recommended specification |
|---|---|
| CPU | Intel Core i5 or Core i7 |
| Memory | 8 GB minimum, 16 GB or more recommended |
| GPU | NVIDIA GeForce GTX 850M minimum, GTX 950M or better recommended |
A Mac with Apple Silicon also works for app development; see Install on macOS.
Connect the application computer
Connect the application computer to your video wall and to your network before you install MT Showcase.
Video connections to the Cells
Note
This section assumes the recommended NVIDIA Quadro P5000 graphics card.
Connect the video outputs of the graphics card to the DVI-D inputs of the Cells. You need DisplayPort to DVI-D adapters or cables. Make sure no cable is under stress or tension. After connecting all cables, connect the Cells and the application computer to mains power.
For the MultiTaction Meeting Room solution, connect the video outputs exactly as shown:
Network connections
Note
This section refers to the rear panel of the recommended Supermicro SuperWorkstation.
- Network: connect the top Ethernet port (
em1) to your default gateway. - Cells: connect the bottom Ethernet port (
em2) to the switch supplied with the Meeting Room solution, then connect each Cell to that switch.
Network settings for each Cell
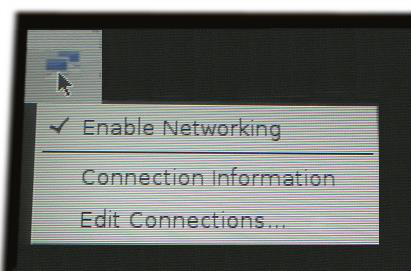
Use the on-screen display (OSD) on each Cell to set:
| Setting | Value |
|---|---|
| Type | Manual |
| Address | 10.77.84.xxx, see below |
| Netmask | 255.255.255.0 |
| Gateway | 10.77.84.1 |
| DNS | 8.8.8.8 |
Viewed from the front, give the Cells these addresses:
| Cell | Address |
|---|---|
| Cell 1 | 10.77.84.100 |
| Cell 2 | 10.77.84.101 |
| Cell 3 | 10.77.84.102 |
Tip
To find these settings, open the OSD, tap the Setup tab and go to the Network pane. For details, see the MultiTaction Cell User Manual.
Network settings for the application computer
Set the application computer's IP address, gateway and DNS server in the operating system's network settings if you did not do so when you installed the OS. On Ubuntu, use Settings > Network.
Designers reach the Editor through this address, so give the application computer a fixed IP address or a DNS name. See Network, HTTPS and email for the ports other computers need to reach.
Using a proxy server
If your network reaches the internet through a proxy server, set up the proxy for the application computer. Otherwise web browser widgets in your apps cannot load internet content.
The MT Showcase server does not use a proxy
The proxy settings below apply to the MT Showcase client and to the operating system. Server features that fetch from the internet, such as browsing the MultiTaction demo app catalog, do not go through a proxy. If they must work on your network, allow the server direct outbound access to the destinations listed in Outbound connections.
Ubuntu
- Open a terminal.
- Edit
/etc/environment, for example withsudo nano /etc/environment. -
Append these lines:
http_proxy=http://<proxy_name>:<proxy_port>
https_proxy=http://<proxy_name>:<proxy_port>
Where
<proxy_name>is the name or IP address of your proxy server and<proxy_port>is its port. -
Save the file and restart the application computer.
To let apt install MT Showcase and its updates through the proxy, create /etc/apt/apt.conf.d/30proxy (for example with sudo nano /etc/apt/apt.conf.d/30proxy) containing:
Acquire::http::Proxy "http://[<user>:<password>@]<proxy_name>:<proxy_port>/";
Include <user>:<password>@ only if your proxy requires authentication. Put the proxy in a separate file under /etc/apt/apt.conf.d/ rather than in apt.conf.
Windows
- Open Settings > Network & Internet > Proxy.
- Under Manual proxy setup, turn on Use a proxy server and enter the proxy address and port.
- Save the settings.
macOS
Open System Settings > Network, select the network service, click Details > Proxies, and enter your proxy settings.