RDP (Remote Desktop Protocol)
Canvus can connect to RDP servers allowing the following functionality:
- Interaction with the remote PC using multi-touch gestures
- Interaction with applications like MS Office, Photoshop, Paint, etc. running on the RDP server, thus bringing in more content to the Canvus sessions
- Receiving audio and video from the RDP server
Remote file transfer is not supported
Remote file transfer through the RDP widget is a known limitation. Do not rely on RDP to move files to or from the remote server, or to round-trip edited files back into Canvus. Use the normal file import/export workflow outside the RDP session instead.
Note
Canvus Client 2.6.0 or newer is required to connect to an RDP server from a local canvas. Canvus Client and Server 2.6.0 or newer is required to connect to an RDP server from a shared canvas.
Note
The RDP target is specified via the host configuration value. To use a non-standard port, include it directly in the host string using host:port syntax (for example, rdp.example.com:3390). There is no separate port field; port has always been part of the host value.
Opening an RDP connection
There are two ways to initiate an RDP connection:
- Launch the remote desktop from the remote desktop list
- Launch a remote application from the More menu of an asset file
Launch a remote desktop
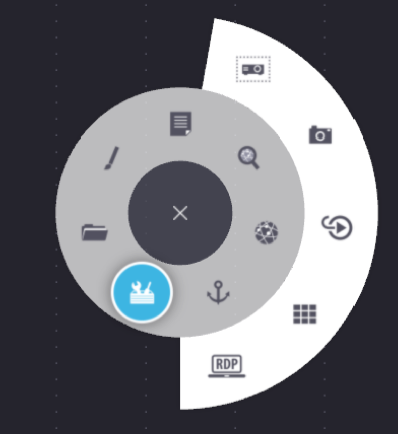
A remote desktop list widget shows the list of available RDP servers that MT Canvus can connect to. This list can be opened from the finger menu by tapping the RDP icon placed inside the Toolbox.
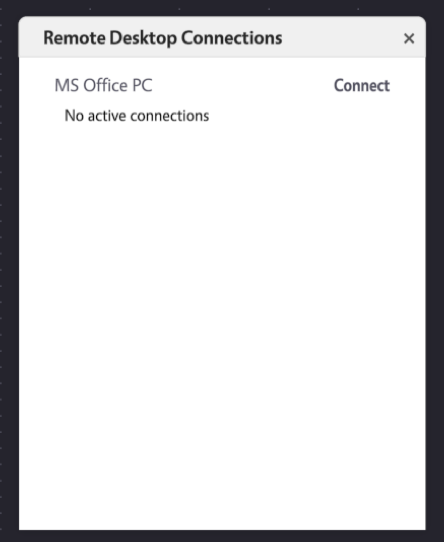
The remote desktop list shows a list of available RDP servers and an option to connect to each of them. Tapping Connect initiates a connection to the selected RDP server.
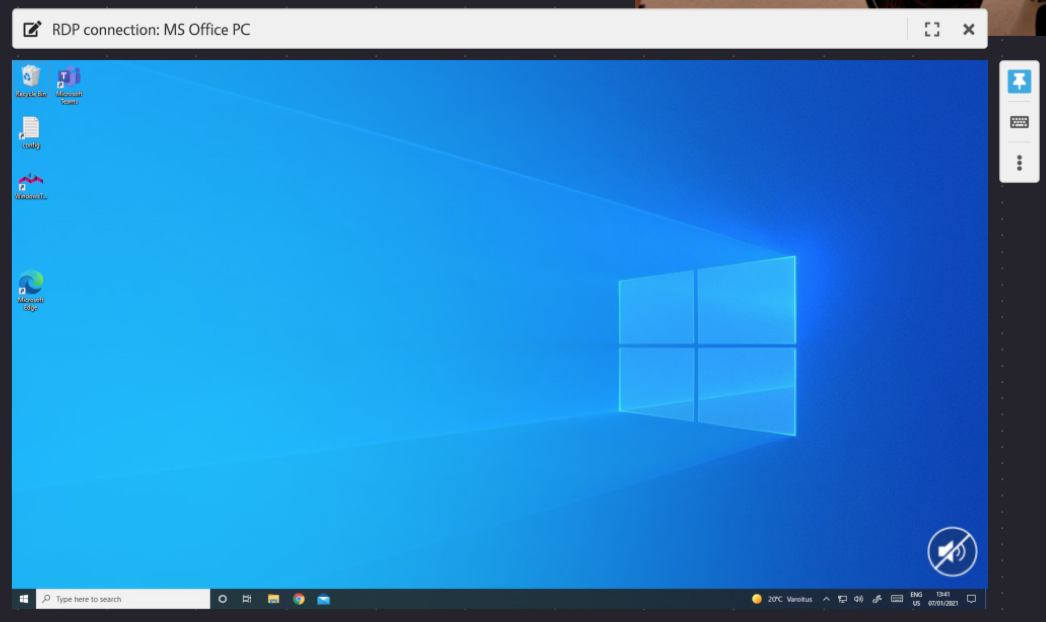
This opens an RDP widget which typically displays the desktop of the remote computer. However, the RDP widget can be configured to launch an application, thus restricting users access to the desktop. More information about configuring the Remote Desktop Mode can be found in client-config-rdp-connections
Note
Pin the RDP widget to interact with it.
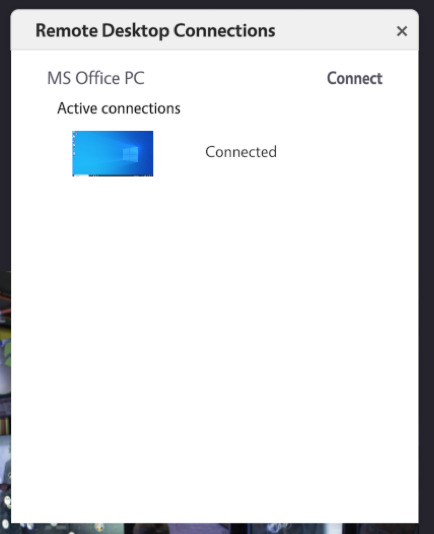
A small preview of the active connections are displayed in the list. Tapping on an active connection brings it to focus. This is particularly useful if there are many active connections scattered across a canvas and you want to navigate from one to the other. More information about configuring the Remote Desktop Mode can be found in client-config-rdp-connections.
Remote file transfer limitation
Remote file transfer and remote file editing through the RDP widget are not supported. In particular, the RDP widget should not be used as a way to share a canvas file into a remote Windows session, edit it there, and have the saved version synced back to the canvas.
If a file needs to be edited in an application that is only available on the remote machine, export or download the file from Canvus first, edit it using your normal remote desktop workflow, and then import the updated file back into Canvus.
Note
Pin the RDP widget to interact with it.
Transparent mode
Transparent mode allows hiding the desktop on the remote machine. When enabled, Canvus will only render the application windows running on the remote machine. The desktop is made transparent, so you can see the canvas background or other canvas items behind the RDP widget.
Transparent mode is enabled by default when launching a remote application. To manually enable or disable transparent mode, tap the transparent mode button under the More menu of the RDP widget.
Note
Transparent mode toggle is only available for RDP Remote Application widgets.
Scaling and resizing
Use a pinch-to-zoom gesture to scale RDP widgets on Canvus. You can also scroll the mouse wheel to imitate the gesture.
To resize an RDP widget, drag the resize handle located at the bottom-right corner of the widget. This is possible only when the widget is unpinned and the RDP server supports it. Resizing an RDP widget effectively resizes the desktop on the remote machine.
Mute/unmute audio
Tap the speaker button located on the bottom-right corner of an RDP widget to mute the audio transmitted from the remote machine.
Info
client-config-rdp in client configuration.