Users and Security
Every Editor user signs in with their own account, and each account has a role that decides what the user can do. Administrators manage accounts and the security policy in the admin pages at the bottom of the Editor sidebar: Users, Invites, SSO, Security, Network & Public Access and Audit Log. Only users with the Admin role see them.
For the roles, how passwords and sessions are protected, and a hardening checklist, see Showcase technical information.
The first administrator account is created in the setup wizard. Network & Public Access and the Email settings dialog are described in Network, HTTPS and email.
Signing in
Open the Editor at https://<application-computer>/editor/ (on macOS, https://<application-computer>:8443/editor/). If you are not signed in, the sign-in page opens.
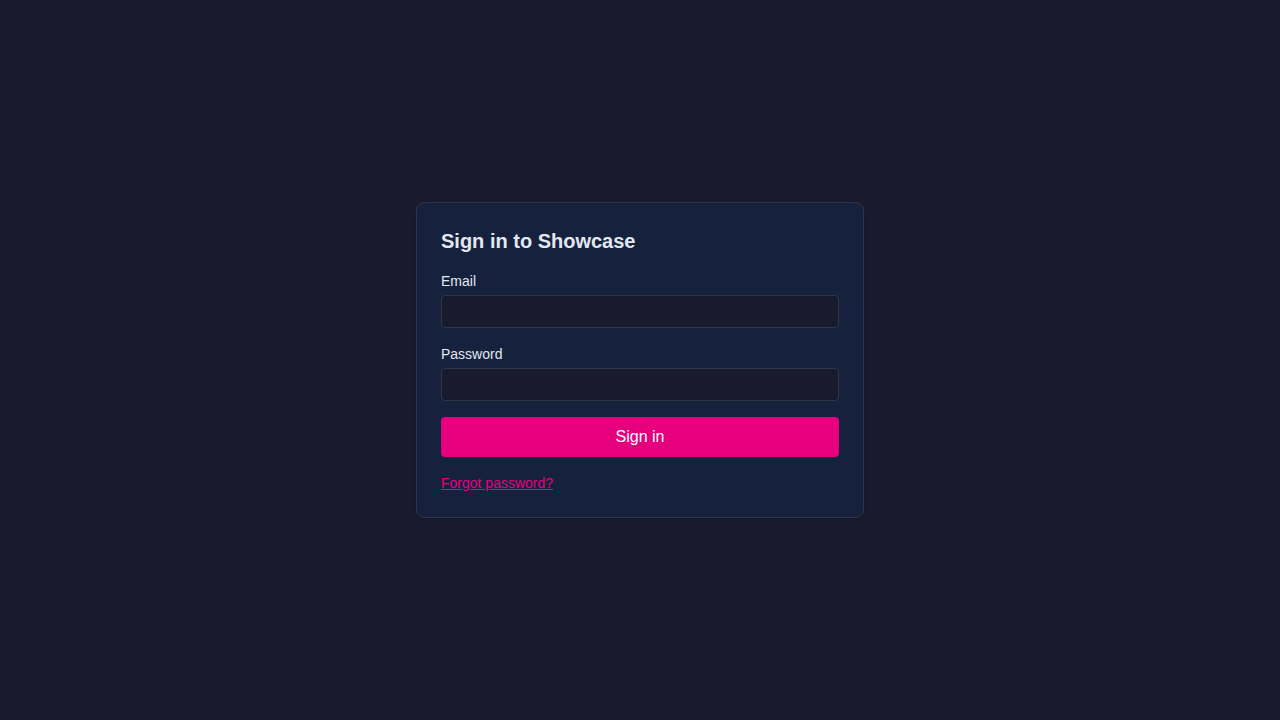
Enter your email address and password, then click Sign in. If single sign-on is set up, the sign-in page also has a Sign in via
Forgot password
On the sign-in page, click Forgot password?, enter your email address and click Send reset link. If the address belongs to an active account and email is set up, the server emails a reset link.
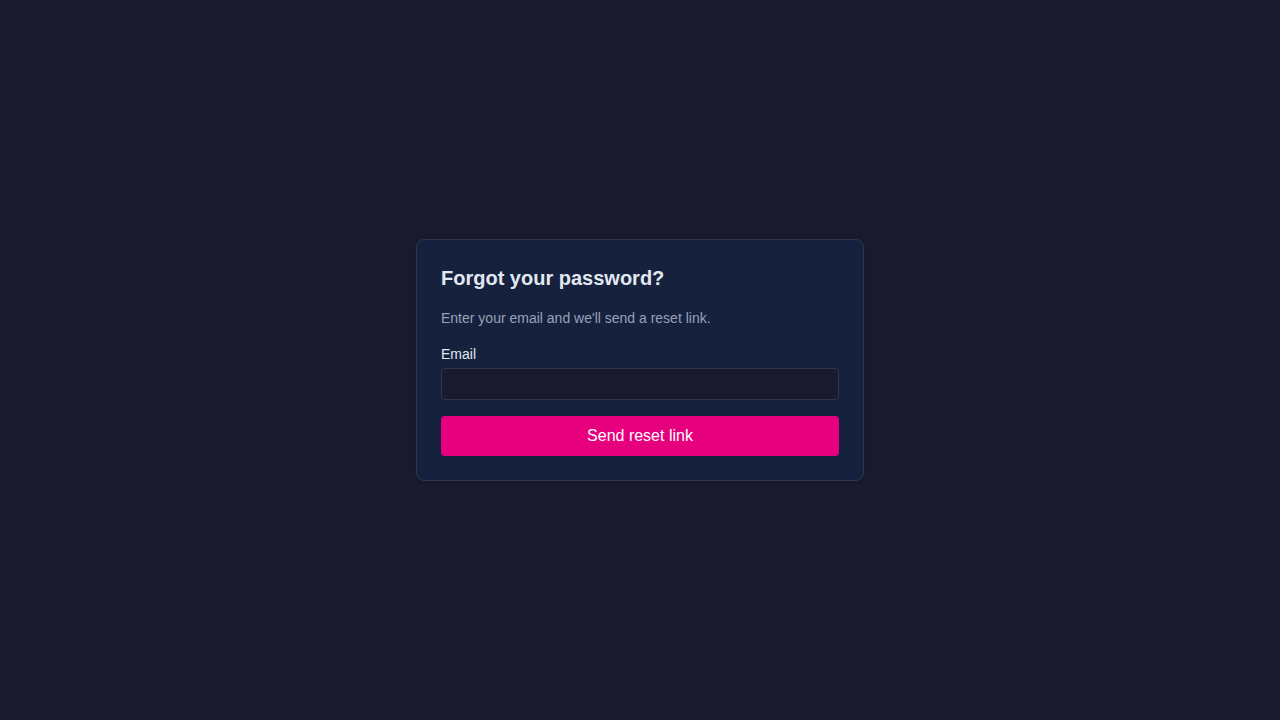
If email is not set up, an administrator can reset the password with the server CLI.
Two-factor authentication (TOTP)
If an administrator has turned on Require TOTP, users who have not enrolled an authenticator app are sent to the enrollment page (/totp/enrol) after they next sign in. Scan the QR code with an authenticator app, such as Google Authenticator or Authy, and confirm the 6-digit code. While the policy is on, users cannot turn TOTP off for themselves.
Users
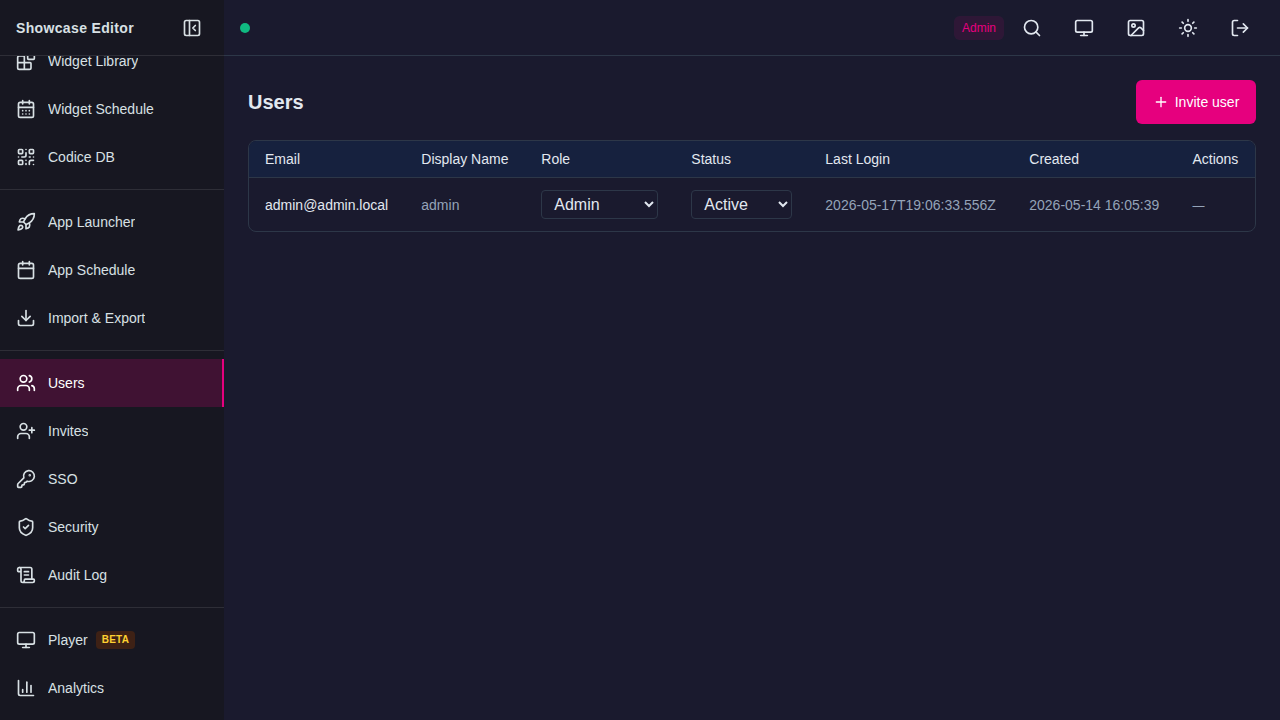
The Users page lists every account on the server.
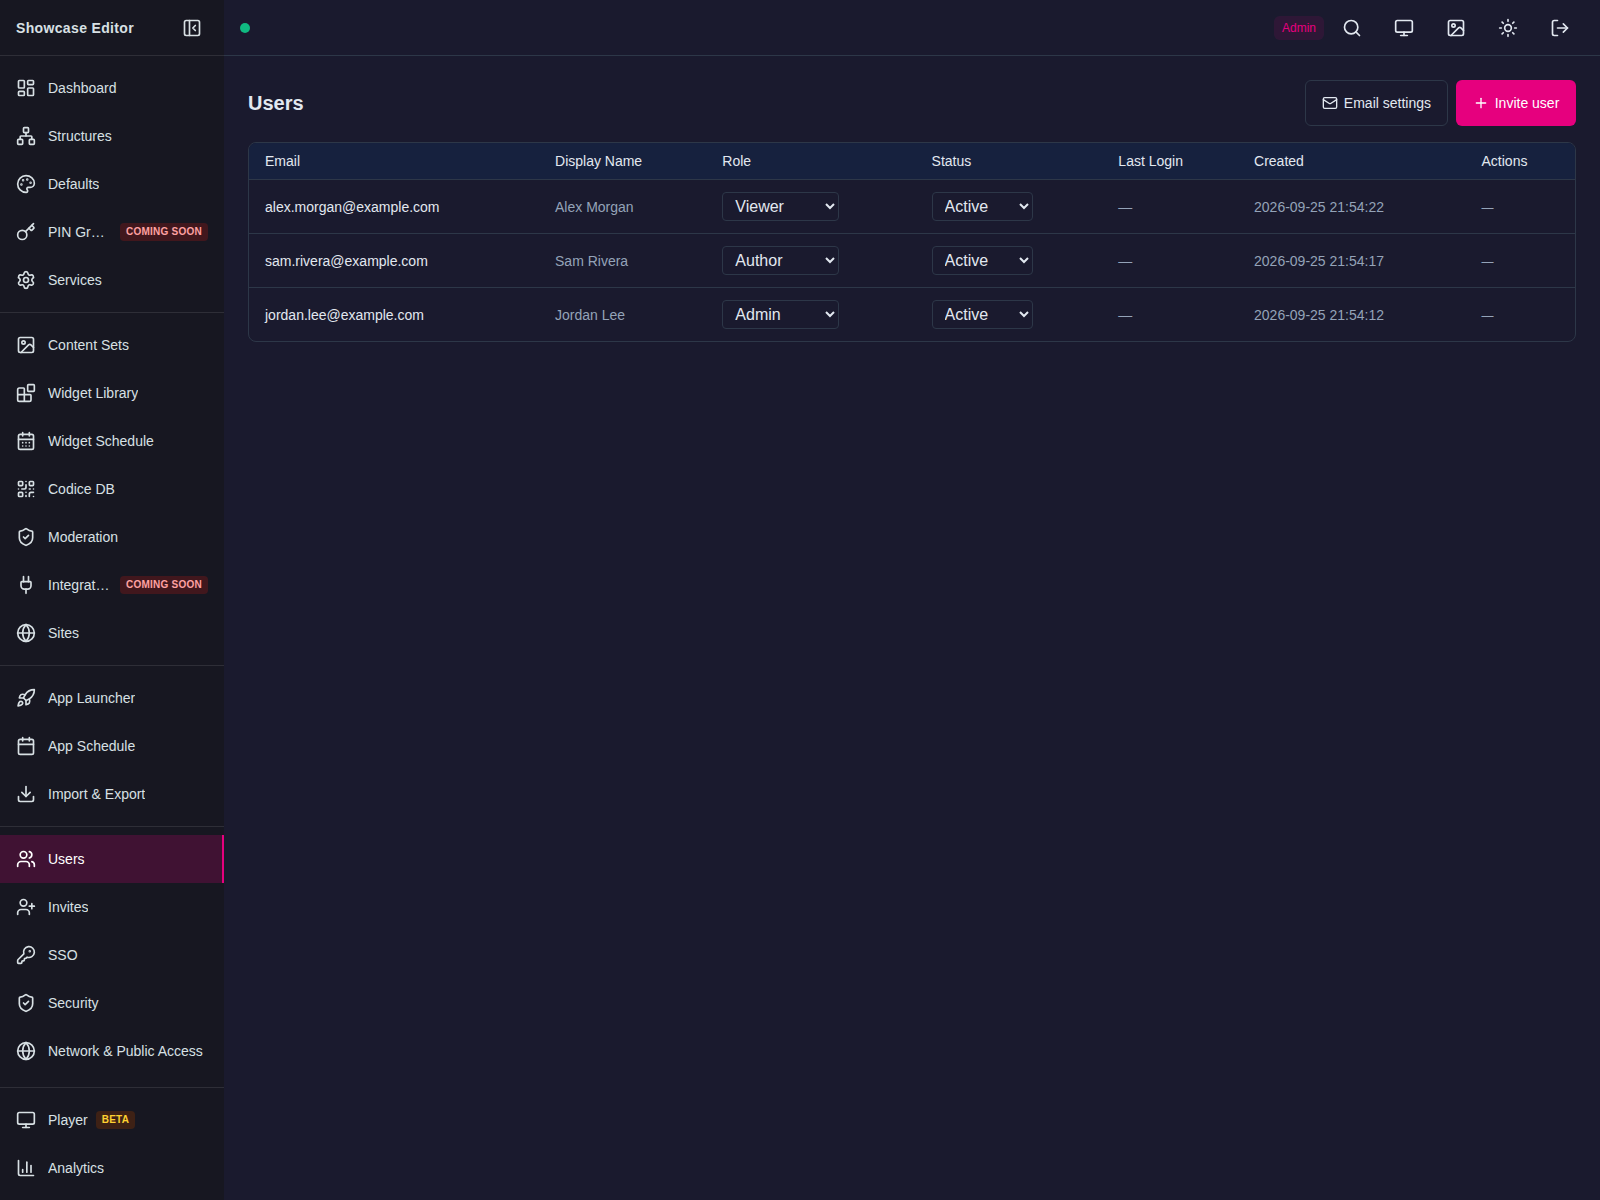
| Column | Description |
|---|---|
| The user's sign-in email address | |
| Display Name | The name shown in the Editor |
| Role | Admin, Author, Presenter, Front desk or Viewer. Change it with the drop-down. |
| Status | Active or Disabled. Change it with the drop-down. An invited user who has not yet accepted shows Pending. |
| Last Login | When the user last signed in |
| Created | When the account was created |
| Actions | Unlock, shown while the account is locked after too many failed sign-ins |
- To add a user, click Invite user; see Invites.
- To unlock a locked account, click Unlock in its row.
- To stop a user signing in, set their Status to Disabled. Accounts cannot be deleted from this page.
- To reset another user's password, ask them to use Forgot password?, or use the server CLI.
- Email settings opens the email configuration used for invitations and password resets; see Email settings.
Invites
Click Invite user on the Users page to email an invitation. The invited person follows the link, sets a password and gets the role you chose. Invitation links expire after 7 days. Invitations need working email; see Email settings.
The Invites page lists invitations that have not been accepted yet.
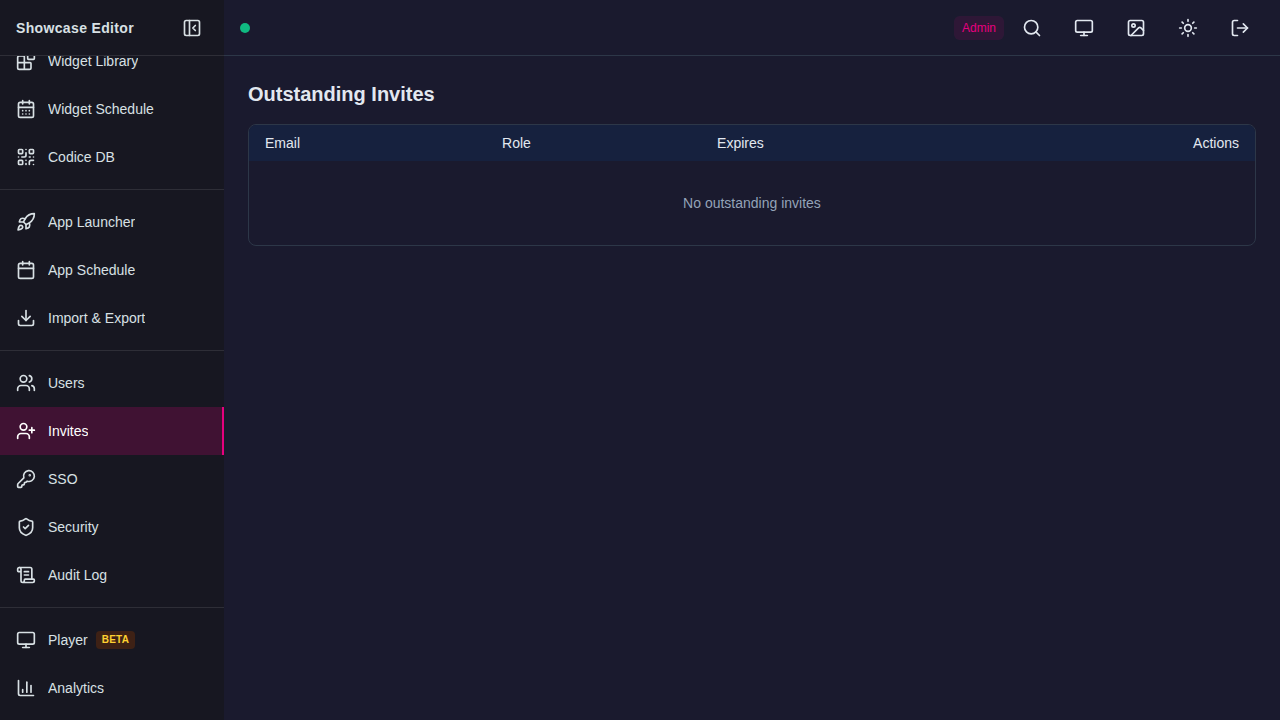
| Column | Description |
|---|---|
| The address the invitation was sent to | |
| Role | The role the user will get |
| Expires | When the invitation expires |
| Actions | Revoke the invitation so its link can no longer be used |
Single sign-on (SSO)
The SSO page manages single sign-on providers. OpenID Connect (OIDC) and SAML 2.0 providers are supported.
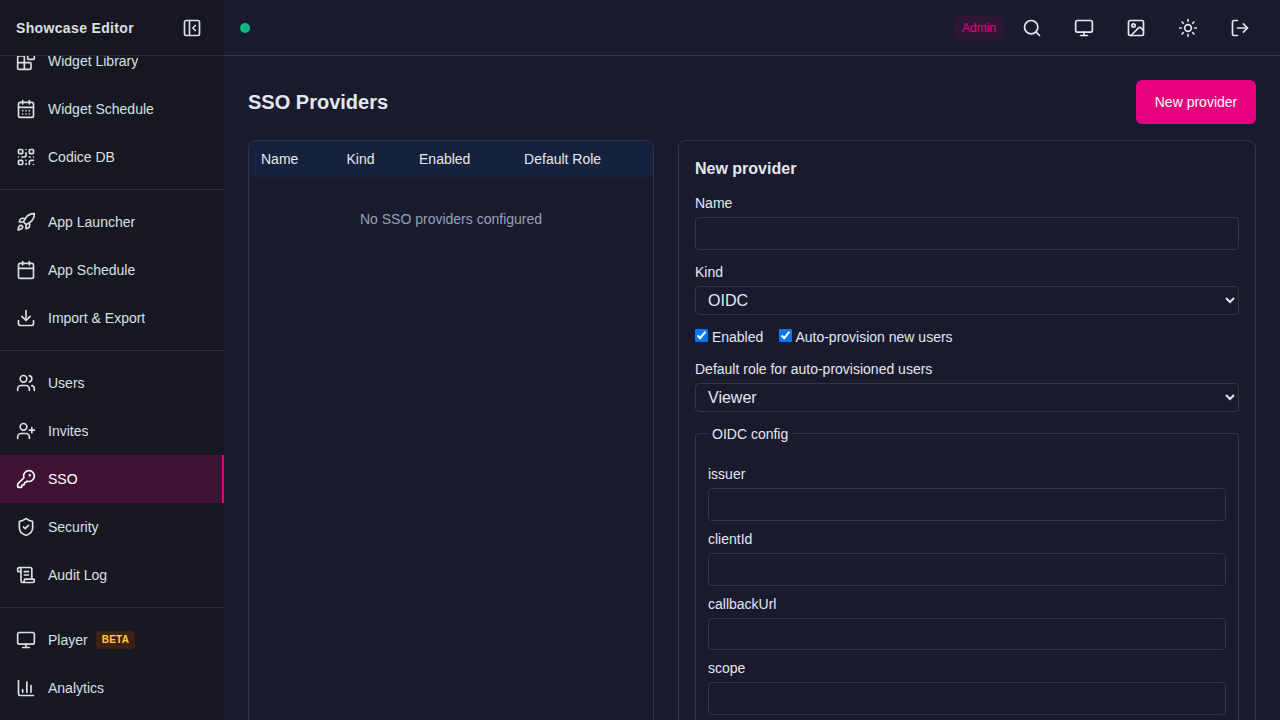
Click New provider. The form appears on the right:
| Field | Description |
|---|---|
| Name | The name shown on the sign-in button |
| Kind | OIDC or SAML. It cannot be changed after the provider is created. |
| Enabled | Whether the provider appears on the sign-in page |
| Auto-provision new users | Create an account automatically the first time someone signs in through this provider |
| Default role for auto-provisioned users | The role those accounts get |
OIDC settings: issuer (the provider's issuer URL, for example https://accounts.google.com), clientId, clientSecret, callbackUrl (the redirect URI you registered with the provider) and, optionally, scope (for example openid email profile).
SAML settings: entryPoint (the identity provider's sign-on URL), issuer, callbackUrl, cert (the identity provider's signing certificate) and, optionally, audience and identifierFormat.
When you edit an existing provider, leave clientSecret or cert blank to keep the stored value.
Security
The Security page sets two-factor authentication and the account lockout policy.
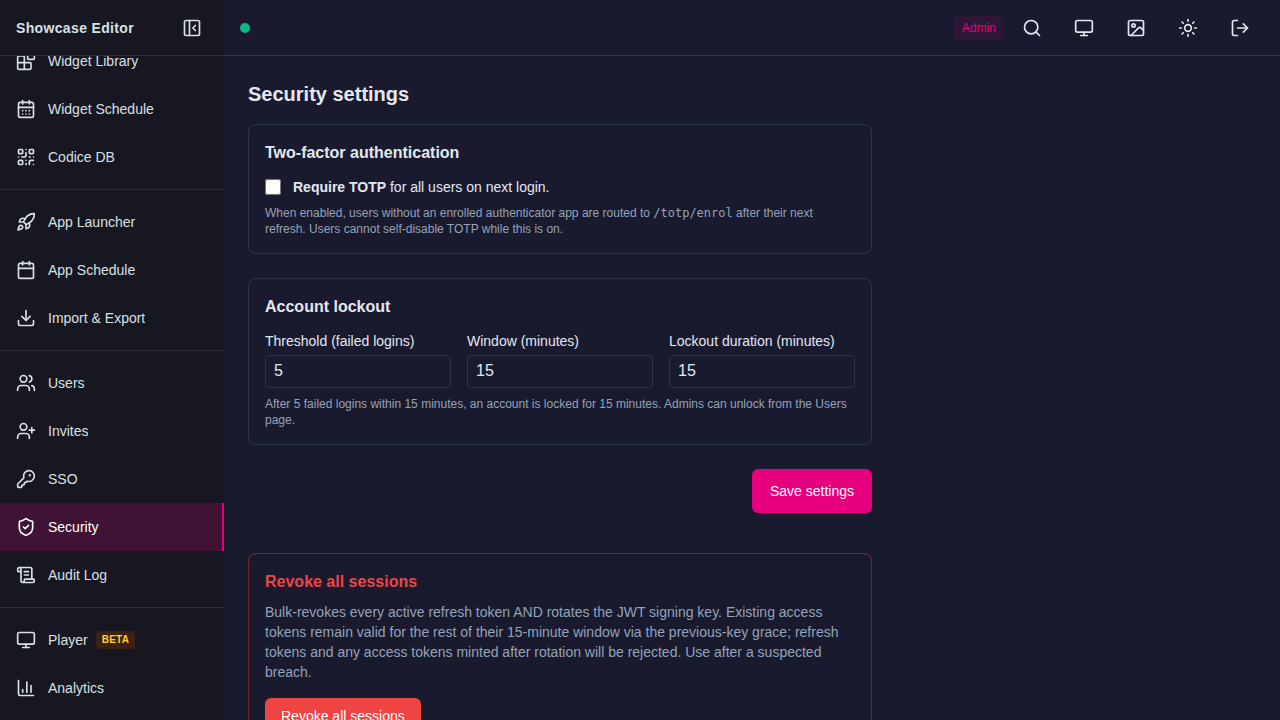
- Require TOTP for all users on next login. When on, users without an authenticator app must enroll one.
-
Account lockout:
Setting Default Description Threshold (failed logins) 5 Failed sign-ins that lock the account Window (minutes) 15 Period in which failures are counted Lockout duration (minutes) 15 How long the account stays locked
Click Save settings to apply changes.
Revoke all sessions
Revoke all sessions signs out every Editor and web player session immediately, including yours. Everyone must sign in again. Use it after a suspected account compromise.
For routine signing-key rotation, which does not sign anyone out, use keys:rotate-signing.
Audit log
The Audit Log page lists sign-ins and administrative events for the whole server.
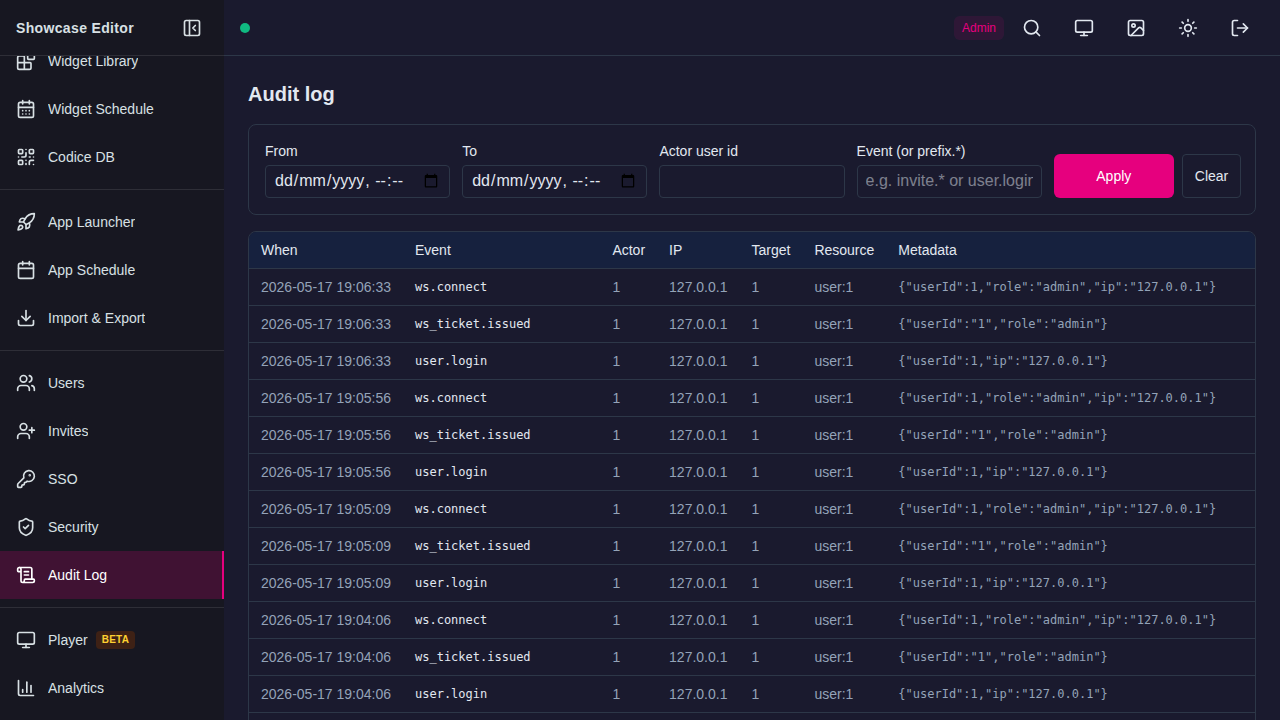
Filter by date range (From and To), actor user ID, or event name, then click Apply. Event names accept a trailing wildcard, for example user.* or invite.*.
| Column | Description |
|---|---|
| When | When the event happened |
| Event | The event type |
| Actor | User ID of the account that caused the event |
| IP | Source IP address |
| Target | ID of the affected item |
| Resource | Type and ID of the affected item |
| Metadata | Extra details, as JSON |
Common events:
| Event | Meaning |
|---|---|
user.login |
Successful sign-in |
user.login_failed |
Failed sign-in |
user.lockout |
Account locked after too many failed sign-ins |
invite.created |
An administrator sent an invitation |
invite.accepted |
A user accepted an invitation |
security.revoke_all_sessions |
An administrator used Revoke all sessions |
ws.connect |
A browser, such as the Editor or the web player, opened a live connection |
ws_ticket.issued |
A live-connection ticket was issued |
cli.users.*, cli.keys.rotate_signing |
A change made with the server CLI |
Managing users from the command line
The showcase-server command on the application computer can create an administrator, reset a password, disable, enable or unlock an account, and rotate signing keys without signing in to the Editor. See Server CLI.